

How to adjust a leg curl machine for hamstrings: 5 checks


When adjusting a leg curl machine for your hamstrings, start without a working weight. Set the seat or bench so that your knee is next to the machine’s pivot point, position the roller pad low against your lower leg and secure your thighs and torso without pinching. Check the start and end positions with the machine unloaded. Then perform three light test repetitions: your hips remain still, your knee bends smoothly and the roller pad stays in the same place.
Why setup involves more than choosing a seat number
A leg curl is a knee-flexion exercise. The machine provides resistance around a fixed pivot while your lower leg moves against a roller pad. This means the suitability of a setting depends on more than your height. The seat or bench, knee, pivot point, roller pad and movement limits all need to work together.
Hip and knee position change the mechanical task for the hamstrings. Research on knee flexion in different positions therefore shows that seated and lying versions should not be treated as exactly the same position (Yanagisawa & Fukutani, 2020; Maeo et al., 2021). This does not make either machine universally better. It does mean that you should adjust your chosen machine to its own pivot point, support surfaces and instructions.
For the broader choice between machines, space requirements and different forms of training, the guide to hamstring equipment for home remains the general guide. This article is only about the machine already in front of you.

The five-point check before your first working set
Use five checkpoints in a fixed order. Change one setting at a time, sit or lie down again and only then check the next point.
- Support: your pelvis, torso and the intended part of your thighs rest steadily on the support surfaces. You should not need to pull yourself back into position with the handles.
- Knee axis: the centre of your knee joint is as close as possible to the machine’s visible or marked pivot point. Look from the side and follow the instructions for that model.
- Roller pad: the roller rests low against your lower leg, above your shoe and not directly in the back of your knee or on your heel. It does not visibly shift during an unloaded test.
- Thigh restraint: on a seated machine, the thigh pad keeps your thighs in place without pinching firmly. On a lying machine, your hips and torso remain in contact with the bench.
- Movement limits: the start and end points allow smooth knee flexion without the weight stack colliding, the roller pad rolling away or your hips losing support.
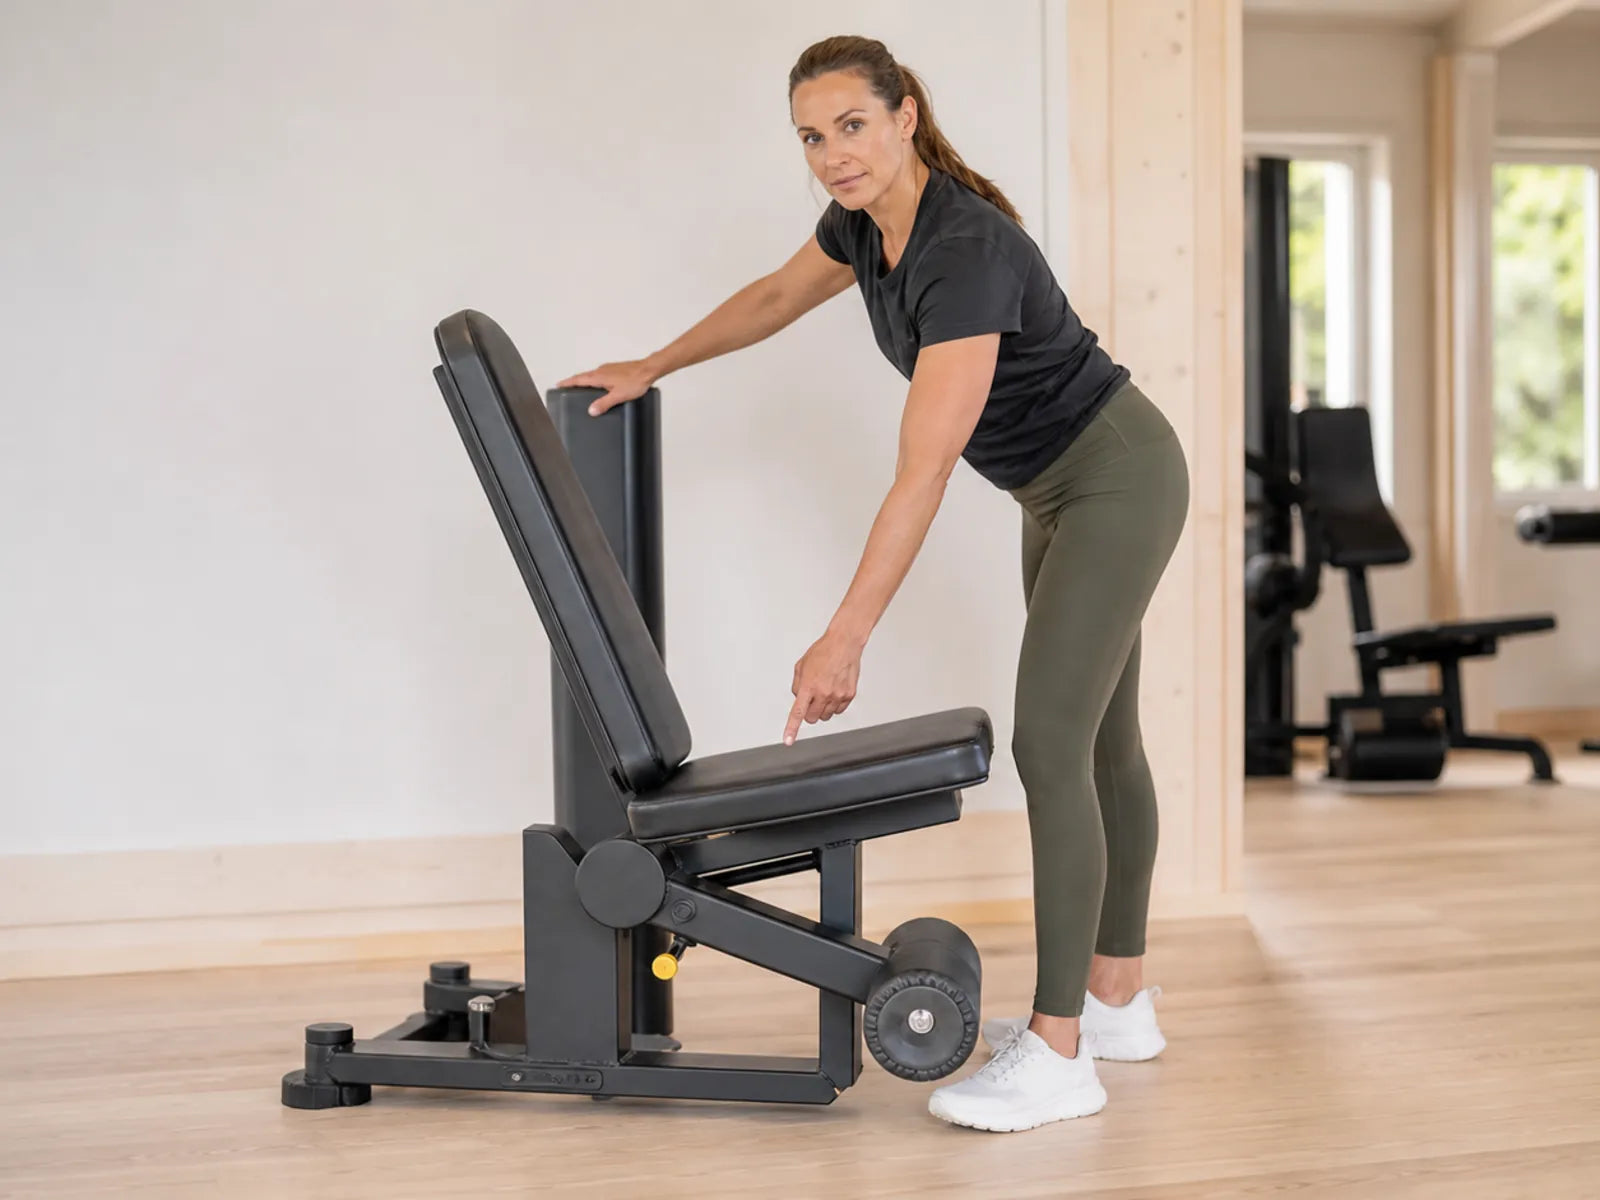 Adjusting the backrest of an adjustable exercise bench. Context image; the full exercise with the equipment described is not shown.
How to set up a seated leg curl machine
On a seated machine, adjust the backrest or seat position first. Move until your knee is next to the machine axis while your back and pelvis remain in contact with the support. Only then adjust the lower roller. Next, lower the thigh pad as directed by the machine instructions; it should limit your thigh from lifting without trapping you underneath it.
Check the start position with the selector pin removed from the stack or with the lightest setting intended by the manufacturer. Your knee does not need to be forced into an end position. Choose a start position that the machine permits and in which your pelvis, knee axis and roller pad all remain in place.
Take your Nordic curl from the first rep to week 10.
A concrete 7-page plan: build up week by week, without pushing too fast.
- 01A clear week-by-week progression
- 02Technique and the mistakes to avoid
- 03A simple log you will actually use

≤51%
✓Backed by research
Van Dyk et al., 2019: meta-analysis of programmes with NHE. Not an effect test of Nordbelt or this protocol.
Open the download page again or check the email we sent you.
Open the download page ↗How to adjust a lying leg curl machine
On a lying machine, position yourself so that your knees are close to the intended pivot point and your kneecaps remain clear of any hard edge. Place the roller pad low against your lower legs. Keep your chest, pelvis and thighs on the surfaces designed to support them during the unloaded test.
Some lying benches are flat, while others are angled or raised. Do not copy a seat number or roller setting from another machine. The instructions for the specific machine take priority. Research comparing seated and lying leg curls also describes position-dependent differences; it does not prove that one setting or version is superior for every body and every goal (Maeo et al., 2021).
Aligning your knee with the leg curl pivot point
The simplest check is performed from the side before you add weight. Find the marked machine axis or the centre of the arm to which the roller pad is attached. Compare it with the side of your knee at the level of the knee joint.
A small visual mismatch cannot be resolved with a universal centimetre rule: machines differ, markings are not always equally visible and body dimensions vary. Choose the nearest setting that also keeps the other four checkpoints intact. If your knee clearly slides forwards or backwards past the pivot during the test, readjust the seat or your body position first.
Three light test repetitions
Before your first working set, perform three controlled repetitions with the lightest practical resistance. Use them as a check, not as a performance test.
- Start from a stable position without lifting the weight stack abruptly.
- Bend your knee smoothly while keeping your pelvis, thighs and torso supported.
- Stop before your hips shift, the roller pad moves or the machine arm reaches the set limit.
- Control the return along the same path; do not let the weights bounce between repetitions.
Then repeat the five-point check. Select a working resistance only when every point remains unchanged.
Ankle fixation for Nordic curls at home
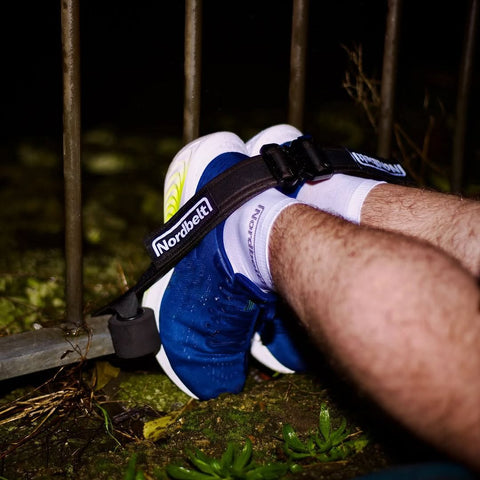
You would then be adding a different knee-flexion task and a different setup. A seated or lying leg curl machine guides the lower leg through a machine arm. During a Nordic curl, the ankles remain fixed and your body moves from a kneeling position. With Nordbelt for Nordic curls at home, you can arrange stable ankle fixation without a training partner or large fitness machine, once the door or anchor point, symmetry, kneeling surface and clear space have been deemed suitable.
Nordbelt is not a seated or lying leg curl machine and does not replace the setup described above. Its product role begins only when you also want to add Nordic curls at home alongside machine curls and stable low ankle fixation is the missing part of the setup. For a focused comparison of Nordic setups, the page about Nordic hamstring curl equipment remains the guide.
Choosing the range of motion on a hamstring machine
Do not treat range of motion as a contest to move the roller as far as possible. The usable path is the part in which you maintain your support points, flex and extend the knee under control and keep the weight stack from bouncing.
Research into hamstring exercises shows that muscle activation can differ across regions and exercises. That is not a reason to promise so-called perfect activation through a particular foot position, maximum end position or heavier weight (Hegyi et al., 2019). Choose a repeatable path first and only then record the resistance.
Checking the leg curl roller-pad position
The roller pad should remain in a predictable place against your lower leg throughout the repetition. Position it low enough that it does not press into the back of your knee, but not so low that your shoe or heel takes over the movement. Follow any markings and safety instructions on the machine.
Watch for three signs during the light test: the roller does not slide towards your knee, it does not roll off your lower leg and both the left and right side remain in contact without you having to twist either leg. If there is a problem, adjust the roller or seat first and test again without a working weight.
Technique during the working set
After adjusting the machine, take the same position each time. Hold the handles for stability, but do not use them to pull your hips into a poor setting. Start every repetition without jerking, bend your knees to the chosen end position and control the machine arm on the return.
If you want to increase the resistance, change only the selected weight. Keep the seat, roller, thigh restraint and movement limits the same. If control decreases, return to the previous resistance or shorten the range. Machine and elastic versions can both provide a clear hamstring task when their own setup is correct; that does not make their settings interchangeable (Jakobsen et al., 2014).
If you later want to compare curls without a machine, use the separate guide pages for cable hamstring curl technique, the hamstring curl with a resistance band and the hamstring curl with ankle weights. Do not transfer their setup directly to a selectorised machine.
Recording settings so they are repeatable
After a good set, note the machine model and the visible numbers for the seat or backrest, lower roller, thigh pad and start position. Add one short observation, such as “knee next to axis; roller low on lower leg”. This makes your next setup faster without skipping the checkpoints.
When to stop the set
Stop the set if a pin comes loose, a support surface moves, the cable or machine arm runs unevenly, the roller pad slips or your body position is no longer stable. Report a technical fault to the facility manager and do not continue using the machine.
Unexpected sharp symptoms, new swelling, loss of sensation or clear loss of strength do not call for a harder set or a different setup found online. Stop and ask an appropriate healthcare professional to assess the sensible next step. This setup method is technical guidance, not a diagnosis or rehabilitation advice.
If you later want to set up Nordic curls as a separate movement at home, follow the Nordbelt setup guide and perform the door, anchor-point, symmetry and space checks separately.
Frequently asked questions
How do you set up a seated leg curl machine?
First adjust the seat or backrest so that your knee is next to the pivot point. Then place the lower roller pad low against your lower leg and set the thigh pad firmly but without pinching. Check the unloaded start and end positions and perform three light test repetitions before selecting a working weight.
Where should your knee be during a leg curl?
Viewed from the side, your knee joint should be as close as possible to the marked machine axis or the pivot point of the machine arm. Use the nearest setting at which the support, roller pad, thigh restraint and movement limits also work correctly. Always follow the instructions for the specific model.
Where should you position the roller pad for a leg curl?
Place the roller low against your lower leg, above your shoe. It should not press directly into the back of your knee or on your heel, and it should not slide towards your knee or off your lower leg during the light test.
How large should the range of motion be on a hamstring machine?
Use the path in which your support points remain unchanged, your knee moves smoothly, the roller pad stays in place and the weight stack does not bounce. A larger range is not automatically better. The machine instructions and a repeatable position determine the practical limits.
Is a seated or lying leg curl better?
There is no universal answer. Hip and support positions differ, which is why research does not treat the versions as identical. Choose the machine that you can adjust to fit you according to its instructions and on which you can repeat your chosen movement under control.