

Nordic curl setup for tall athletes: space and adjustment


Assessing a Nordic curl setup for tall athletes involves more than body height alone. Measure how much straight floor space you need from the anchor to your knees and from your knees to an early hand catch, check whether both ankles can be secured low and evenly, and first test the movement through a very short range. Long legs often require more unobstructed catch space, but body proportions, kneeling position and the chosen regression determine the actual outcome. Never declare a setup suitable based solely on height, a photo or a general product description.
At a glance
Start without training. Put down a mat, mark the kneeling line and place your hands well before the point where you expect to land. Then check the anchor, the low position of the fixation and the clear path for your knees, hips, torso and head. Only once the unloaded setup feels calm and symmetrical should you make a small forward lean with an immediate hand catch.
Body height is only a starting point. Two athletes of the same height can have different thigh, lower-leg and torso lengths. The distance from the anchor to the knees and the chosen range of motion also change how much floor space is needed. Use your own measurements and a familiar regression as your decision criteria. The separate measuring method for a Nordic curl setup in a small space helps you map the anchor, kneeling and catch zones before securing any equipment.
Nordic curl setup for long legs: start with your own measurements
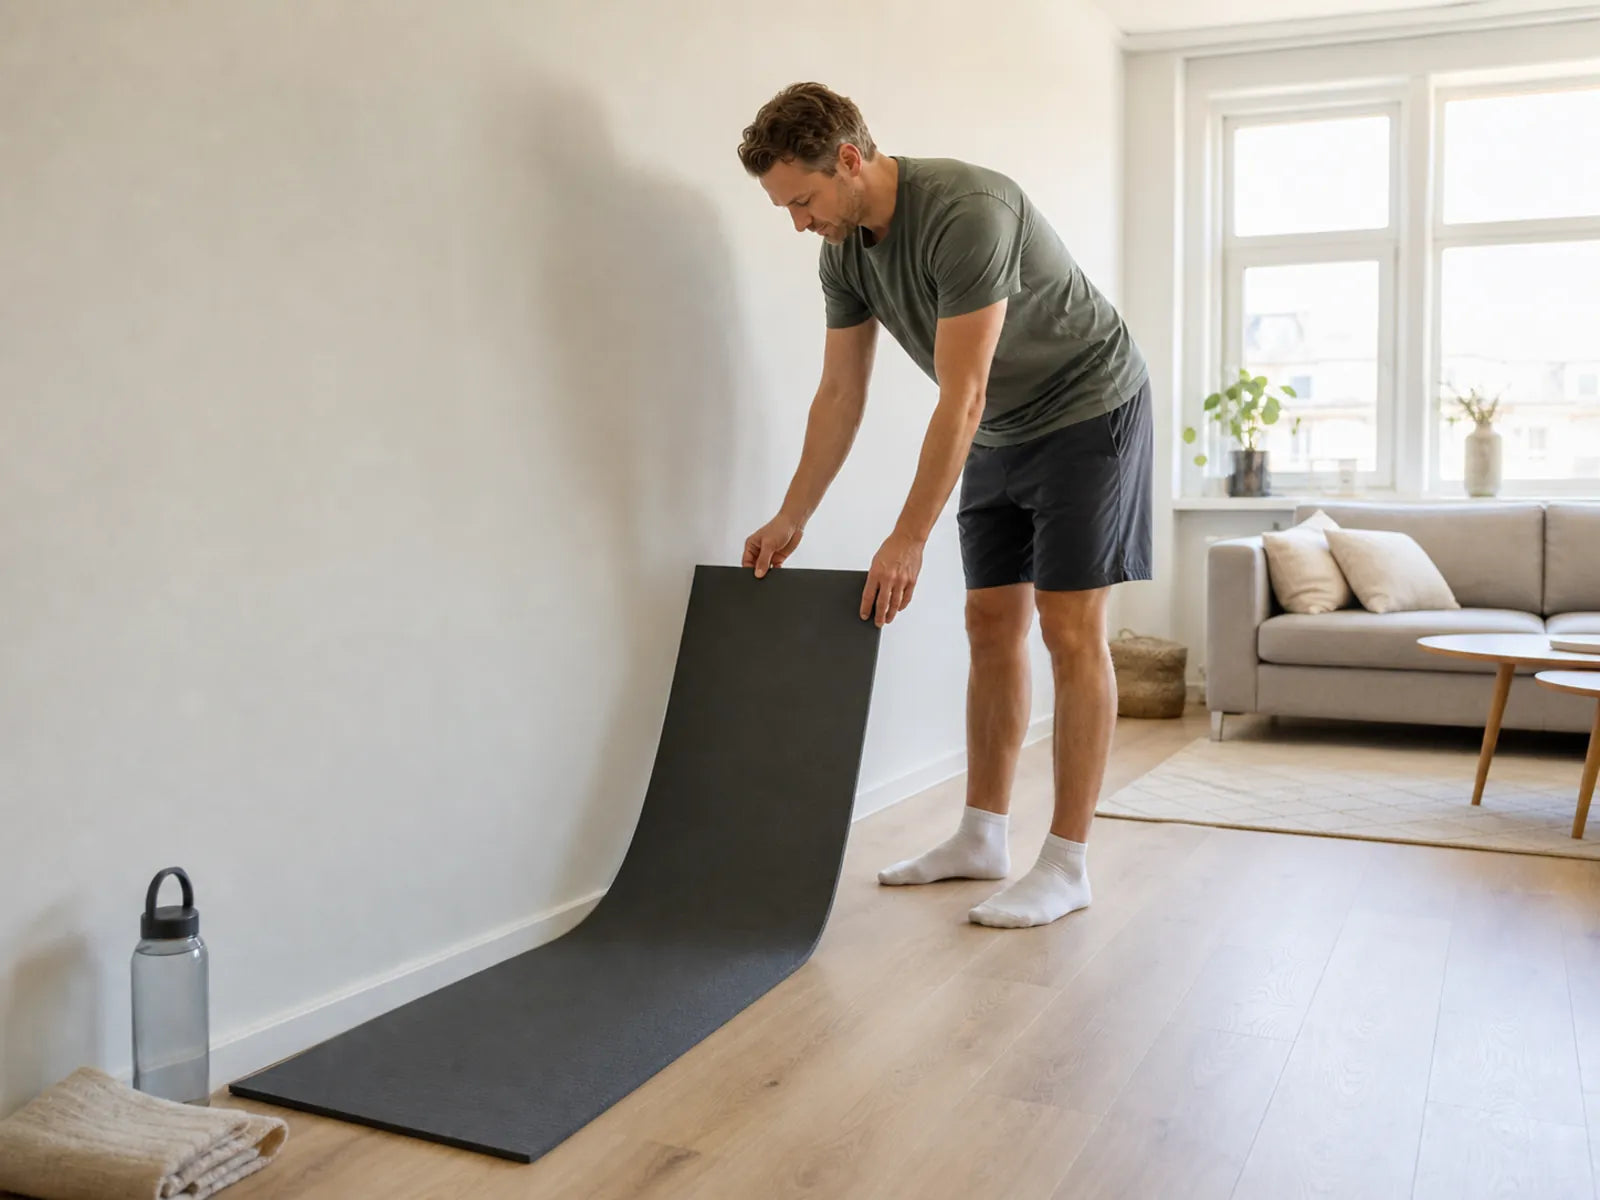
First make a simple floor plan using painter's tape or loose markers. Put one line at the anchor, one at the front of your knees and one where your hands can land early and comfortably. Do not measure only the total length; also check that the path stays straight and does not run alongside a bed, bench, door handle, radiator or wall.
Then use three personal reference measurements:
- the distance from the low anchor to your kneeling position;
- the distance from your knees to an early hand catch during a short regression;
- the width needed to position your knees, feet and hands straight and symmetrically.
A bench setup can show how low and evenly the ankles are secured, but a bench is not automatically suitable for every athlete. Check its stability, the available length behind the bench and the instructions for both the bench and the attachment. Compare a door, bench or another fixed point using the existing guide to a safe Nordic curl home setup; the rest of this article focuses only on the extra fit and space requirements of a taller body.
Ankle fixation for Nordic curls at home
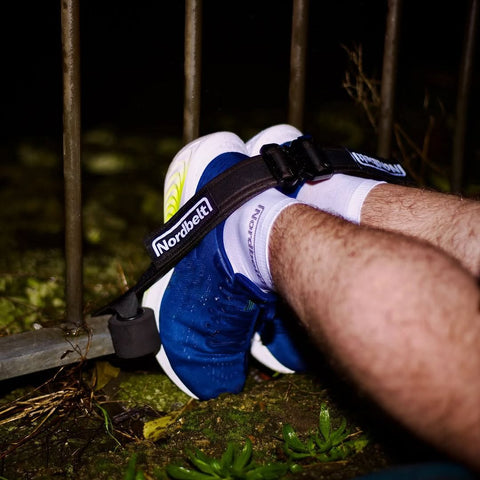
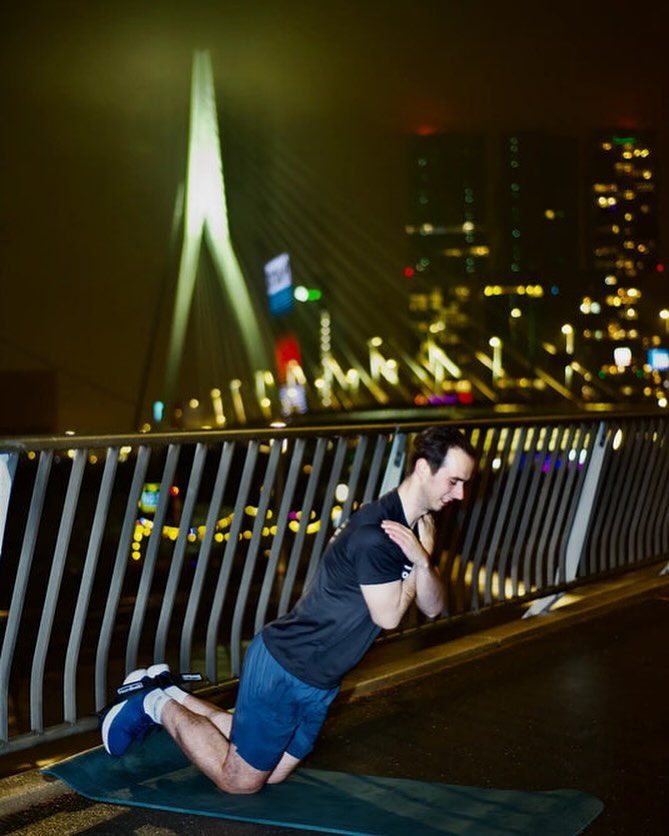
Nordbelt makes Nordic hamstring curls practical at home with stable ankle fixation, without a training partner holding your ankles or the need for a large fitness machine. For a tall athlete, however, the fit check remains decisive: your own anchor, kneeling and catch zones must fit, both ankles must be adjustable to the same position, and you must be able to perform the short regression without anything shifting. The product does not guarantee a universal fit, does not make an unsuitable anchor safe and does not replace proper technique or gradual progression.
Nordic curl space for a tall athlete: keep three zones clear
The first zone is the anchor. The door, bench or fixed point must not move in the direction of load. Keep your feet and the attachment away from sharp edges, and make sure no one can unexpectedly use the door or cross the path. Test the point with your hands first and stop if there is play, noise, deformation or an unclear load direction.
The second zone is the kneeling area. Your knees should rest fully on a flat mat without being pressed against a door, skirting board or piece of furniture. Check that your lower legs and feet can lie straight. A taller athlete cannot simply kneel farther from the anchor if that pulls the fixation at an angle or loads the ankles unevenly.
The third zone is the catch path. Allow more room than your first short repetition requires. Your hands must be able to land early, your head must not approach a wall or piece of furniture, and the mat must not slide. Reduce the range if the path becomes tight; catching yourself later is not a solution for insufficient floor space.
Assessing Nordic curl strap length without guessing the fit
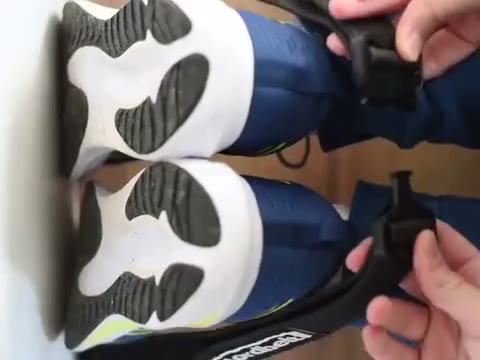
Assess the strap length while unloaded and according to the product instructions. Position both feet as directed, adjust the left and right sides evenly, and check that the fixation stays low without having to stretch a connection to its limit or add improvised parts. A photo of another athlete tells you nothing about your shoe, ankle circumference, body proportions or anchor distance.
Look for four signals during the dry fit check:
- both ankles are the same distance from the anchor;
- the strap and fastening lie flat and do not touch a sharp edge;
- the feet cannot visibly rotate or slide to one side;
- you can release the setup without tension, haste or additional tools.
Do not make a claim such as “suitable up to a certain height” unless that limit is stated explicitly in current product documentation. This page therefore gives no universal body-height or strap measurement. If you mainly want to compare different devices and fixation methods, use the separate explanation of a Nordic hamstring curl machine.
Nordic curl anchor height for a tall athlete: low, even and verifiable
A taller body is no reason to place the anchor arbitrarily higher. The ankle fixation should remain low, stable and in accordance with the instructions. A higher connection or one that pulls at an angle can position the feet differently and alter the line of the setup. Do not compensate for insufficient floor space by improvising the anchor geometry.
Check the anchor from the side and from above. Do both sides run straight towards the feet? Does the contact point stay in place when you gradually pull in the direction of the later load with both hands? Is the door fully closed and out of use, or is the bench demonstrably stable? Reject the location if in doubt. Find another permitted fixed point or choose an exercise that does not require this fixation.
Check Nordic curl fit in six steps
Use the same sequence every time so enthusiasm does not cause you to skip a check:
- measure the anchor, kneeling and catch zones using your own short regression as a reference;
- inspect the anchor and first load it gradually with both hands;
- lay the mat flat and position both knees and feet straight;
- adjust the left and right sides evenly while unloaded, and check the fastenings and contact surfaces;
- lean forward only a few centimetres and catch yourself immediately with your hands;
- stop, check again and increase the range only if nothing has shifted.
Review the common Nordic curl mistakes if you notice your hips moving backwards, your lower back arching or your hands landing progressively later. These are reasons to shorten the regression, not to put more tension on the fixation.
Build the movement from a short range
A successful fit check is not yet training advice for a full Nordic curl. Start with a range of motion you can control comfortably and keep the hand catch early. Research into Nordic programmes shows that exercise load and range of motion are built up gradually, while practical feasibility and adherence also help determine whether a programme remains workable (Medeiros et al., 2020; Ripley et al., 2021).
Do not increase the range, number of repetitions and training frequency at the same time. Change one factor, check the setup again, and stop if you experience sharp pain, numbness, unexpected pressure or loss of control. The general guide to Nordic curls and regressions can help you choose an easier step when the full movement is not yet suitable.
For assembly, sequence and a standard home setup, use the Nordbelt how-to guide. Even with those instructions, you still need to check the anchor, clear floor space, symmetry and early hand catch yourself.
Common mistakes with a tall-athlete setup
Measuring only your body height
Total height does not tell you the individual lengths of your legs, torso and catch path. Measure the actual setup and use your own short regression.
Sliding the knees farther forwards
More distance from the anchor can make the fixation pull at an angle or unevenly. Change the kneeling position only if the intended geometry, instructions and stability are maintained.
Using a higher attachment as a space-saving solution
Anchor height and floor length are separate issues. Do not solve a catch path that is too short by moving the anchor arbitrarily.
Testing a full repetition straight away
A maximum range is not a fit test. Start with a hand test, then make a minimal lean and only later try a controlled regression.
Assuming universal compatibility
No photo or general description proves that your anchor, shoes, body proportions and space work together. “Do not use” can also be a valid outcome of the check.
Frequently asked questions
Does every Nordic curl setup fit tall athletes?
No. Body height alone does not determine the fit. You need to check the anchor distance, kneeling zone, catch path, symmetry and unloaded adjustment with your own body. Do not use a setup if a fastening must be stretched to its limit, the anchor moves or the hand catch is too cramped.
How much extra space do you need with long legs?
There is no single safe allowance. At home, measure the distance from the anchor to your knees and from your knees to an early hand catch during a short regression. Add a generous safety margin for your hands and head, but base the decision on the actual floor space, not a generic body height.
Should the anchor be higher if you are tall?
Not automatically. The fixation must remain low, even and in accordance with the instructions. A higher or angled anchor can change the geometry and does not solve a lack of catch space. Choose another location or a shorter regression if the existing setup does not fit.
How do you know whether the ankle strap is adjusted correctly?
Both sides lie flat and even while unloaded, the feet cannot visibly rotate or slide, and the fastenings do not touch a sharp edge. Then test only a minimal forward lean with an immediate hand catch. Stop if the pressure, position or tension feels different on the left and right.
What should you do if the catch zone is too small?
Reduce the range, move the entire setup only to a demonstrably more suitable location, or choose another exercise. Do not catch yourself later with your hands or improvise a higher anchor. Skipping a Nordic set is better than training in a path you cannot reliably control.