

Deadlift technique for beginners: step by step


Deadlift technique for beginners starts with a stable starting position, tension before the rep, and a weight light enough to control each step. Stand with your feet about hip-width apart, place the weight close to your midfoot, grab it, tense your core and push away from the floor. Keep the weight close to your body and finish upright without leaning back. First practice with a kettlebell or a raised barbell if the floor start is not yet easy.
In short
A good deadlift is not about pulling the weight. You first build tension and then let the hips, knees and torso move together. For a beginner, three checks are important: the weight remains close to your body, your feet remain completely on the floor and your back changes shape as little as possible during the repetition. Can you perform six reps slowly and evenly? Then you can carefully increase the load. If you lose position, you make the variant lighter or the start higher.
Practise the hip hinge without weight first using learning the hip hinge. Then apply that movement to the deadlift from a stable starting position.

Learning the deadlift: start with a simple variation
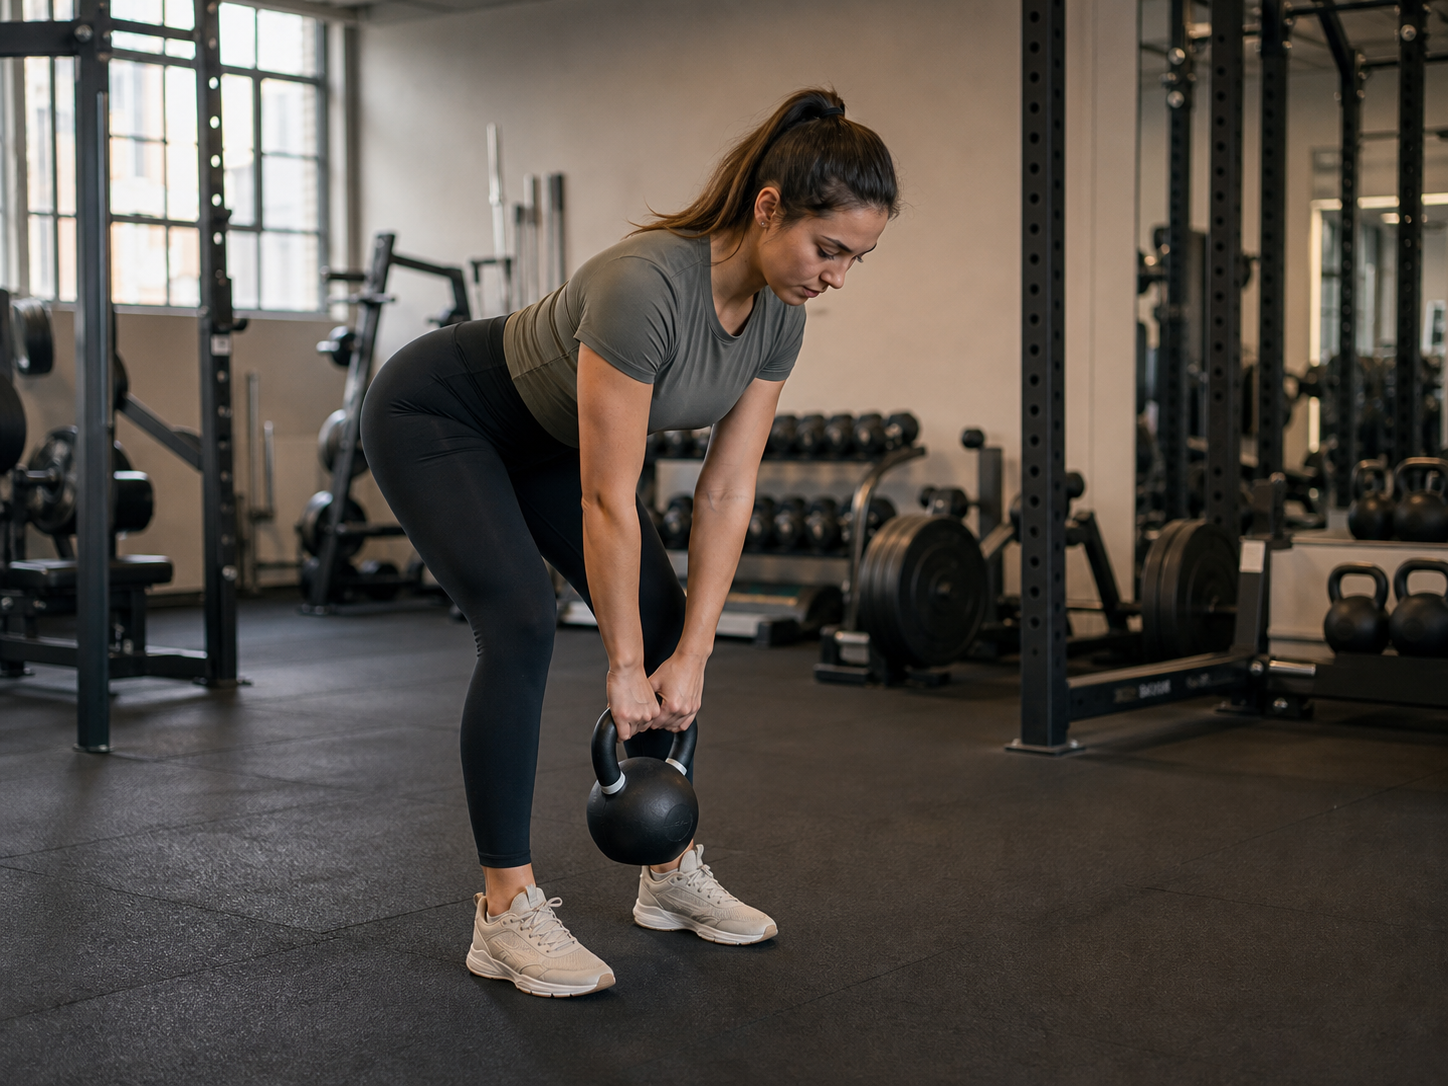
The easiest way to learn a deadlift is not automatically lifting a heavy barbell from the floor. A kettlebell between your feet provides a clear center point and requires less space. A barbell on low blocks reduces the range of motion. Both options let you practice the sequence without forcing depth.
Choose a weight that you could do eight reps with, but do five or six first. This leaves room to retake the starting position. Keep each repetition separate: put the weight down, inhale again, build up tension and only then start the next repetition.
Research on different hamstring exercises shows that exercise choice changes the distribution of muscle activation (McAllister et al., 2014; Bourne et al., 2017). That doesn't mean that one deadlift variation is best for everyone. It mainly means that you have to choose the variant that suits the skill you can now perform and the goal you want to train.
Starting position for a strong repetition
Use these seven steps for a conventional kettlebell or barbell deadlift:
- Place your feet about hip-width apart and let your toes point naturally forward or slightly outward.
- Place the weight above or just in front of your midfoot, close enough to allow it to move down your legs.
- Bend at the hips and knees until you can grab the handle or bar without falling forward.
- Breathe in slowly and tighten your abdomen all around, as if you were making a firm but mobile cylinder.
- Pull the slack out of your arms and the weight without ripping it off the floor yet.
- Push the floor away and allow hips and shoulders to rise together.
- Stand upright, maintain control for one count and return the weight using the same gentle route.
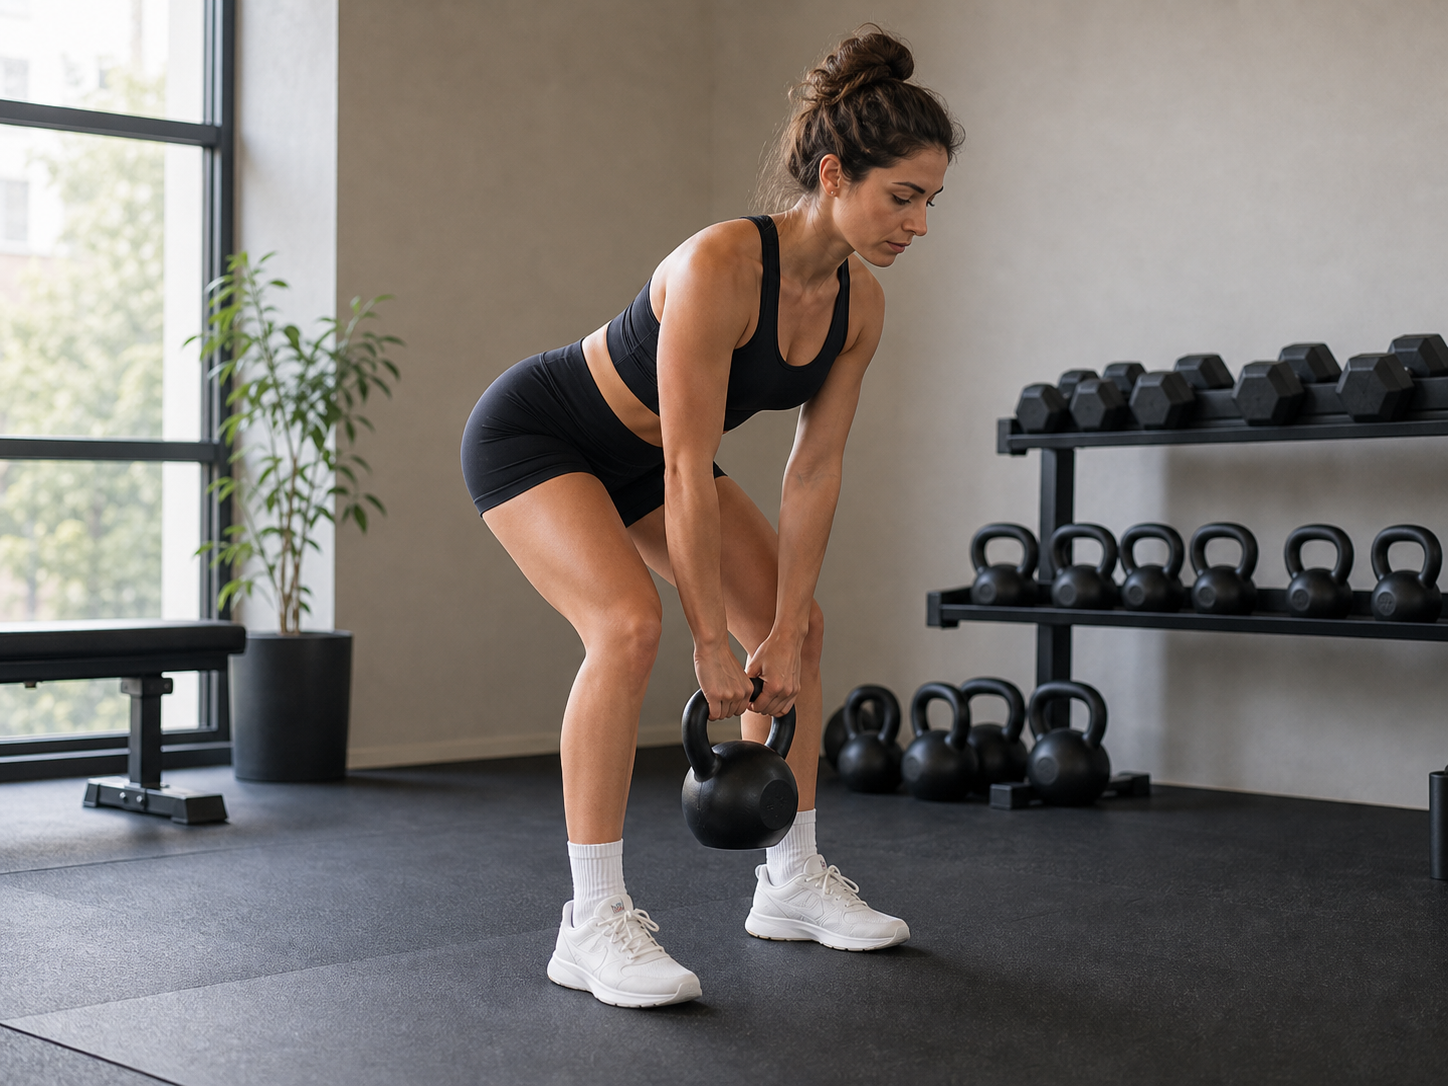
Before each repetition, check whether you feel pressure under the heel, big toe and little toe. If your weight shifts to your toes, the training weight is often too far away from you or your hips start to shoot up too quickly.
Take your Nordic curl from the first rep to week 10.
A concrete 7-page plan: build up week by week, without pushing too fast.
- 01A clear week-by-week progression
- 02Technique and the mistakes to avoid
- 03A simple log you will actually use

≤51%
✓Backed by research
Van Dyk et al., 2019: meta-analysis of programmes with NHE. Not an effect test of Nordbelt or this protocol.
Open the download page again or check the email we sent you.
Open the download page ↗Keeping your back stable during a deadlift
Keeping your back stable during a deadlift does not mean forcing your spine into an unnatural position. Aim for a firm torso that changes shape as little as possible. A neutral position varies between people. Film a light set from the side and compare your starting position, lift and finish.
Use three simple cues:
- lengthen your neck and look at the floor a few meters in front of you;
- tension your torso before you push;
- keep your armpits towards your pockets so that the weight stays close to you.
If you cannot reach the start without rounding strongly, temporarily raise the starting height by placing the weight on stable blocks. That is not a failed repetition, but an appropriate regression. You can later lower the height step by step when your position remains stable.
How can you practise the movement at home?
The deadlift mainly answers a question of technique and strength. If you also want to add controlled Nordic hamstring training, Nordbelt as a compact home setup can make the practical setup easier and repeatable. That option remains complementary: it does not replace good deadlift mechanics, and Nordics do not have to be the first or only exercise in your program.
A logical sequence is to first master the hip hinge, then gently load the deadlift and only then choose which additional hamstring exercises suit your week. In the broader guide to effective hamstring exercises you'll see how hip and knee dominant movements can complement each other.
Feeling your hamstrings during a deadlift
With a deadlift you can feel tension in the hamstrings, buttocks, upper back and torso. How much you feel depends on your build, starting position, variant and load. A conventional deadlift contains more knee bend than a Romanian deadlift. As a result, it does not feel like a pure hamstring exercise for everyone.
If you want to feel the deadlift more in your hamstrings without turning the movement into an RDL, pay attention to these points:
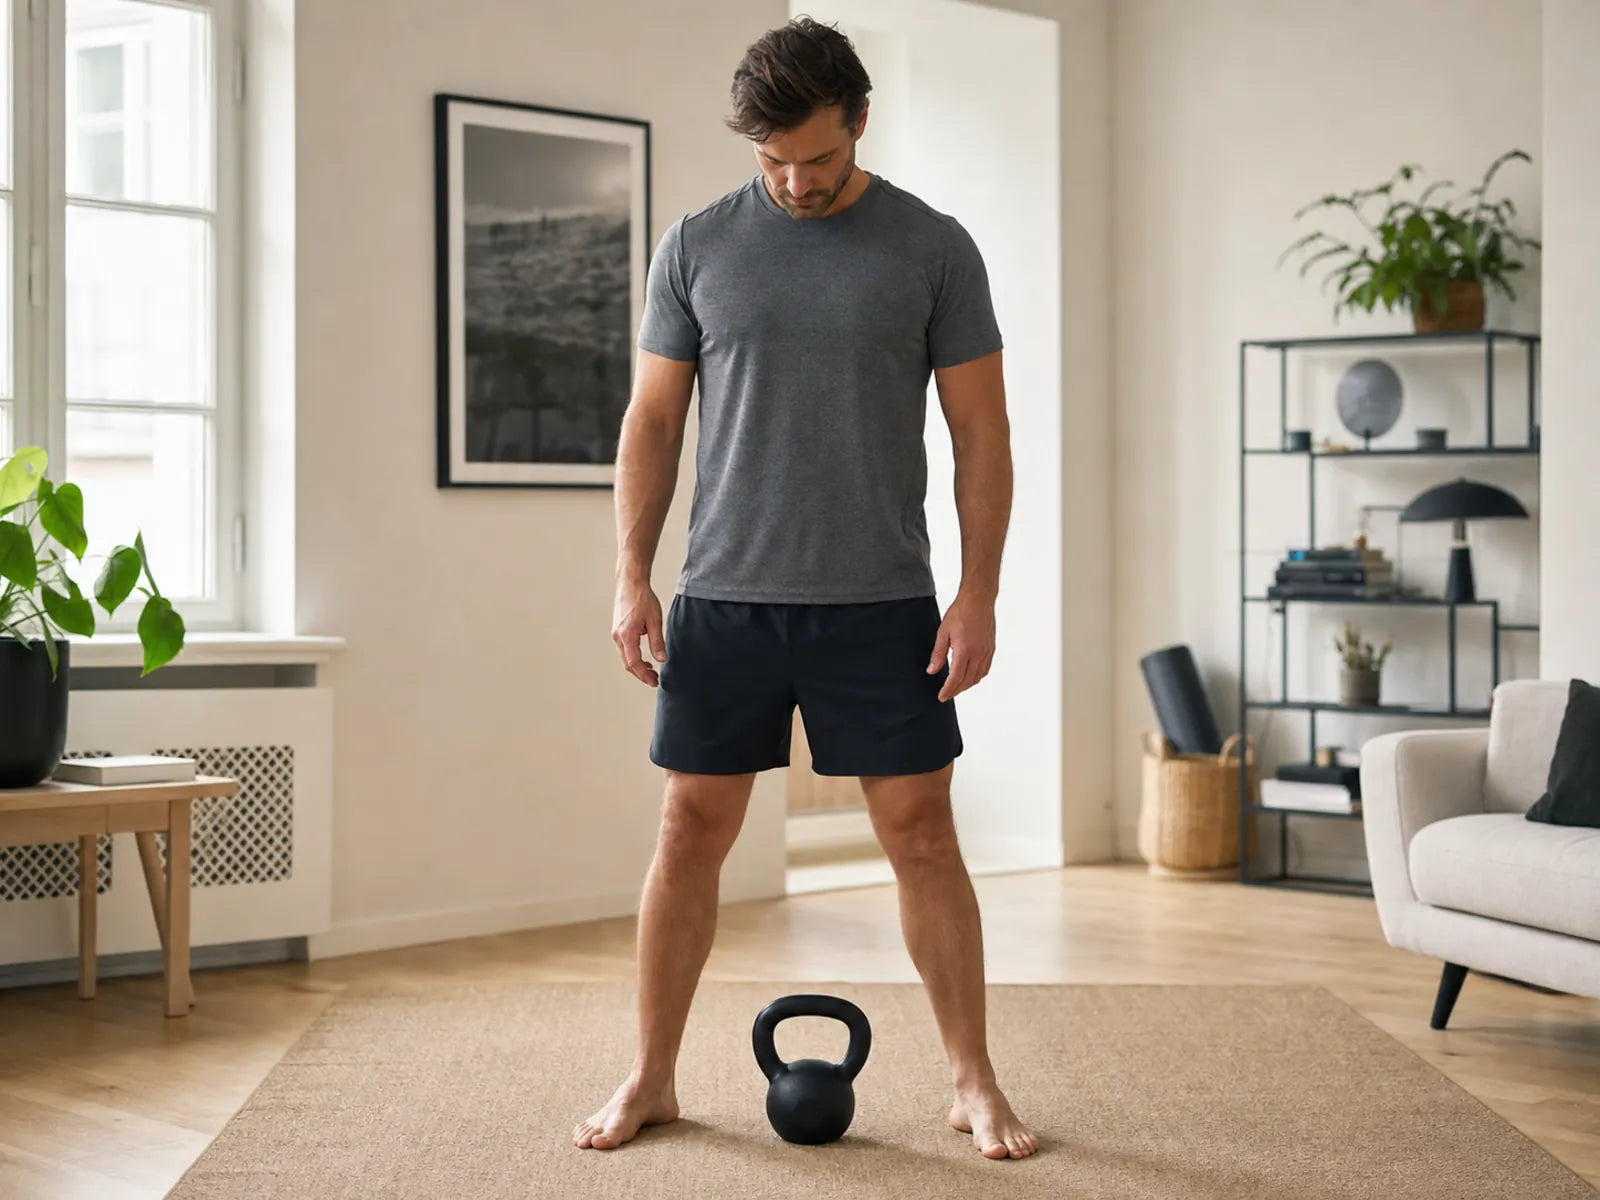
- keep the weight close to your midfoot;
- don't let your hips jump up ahead of the weight;
- make the return journey controlled;
- stop the set when you only feel speed or lower back tension;
- don't use extra depth that you can't control.
The location of muscle sensation is not a perfect measurement of training quality. Therefore, also use visible criteria: does the weight path remain the same, does your torso change little shape and can you consciously start and stop each repetition?
Common beginner deadlift mistakes
Snatch the weight from the floor
When you pull without preload, the first centimeter quickly turns into a jerk. First, pull the slack out of your arms and the weight. Then start applying pressure through your feet.
Holding the weight too far from your body
A weight that floats forward makes the lever unnecessarily large. Start closer to your midfoot and keep your arms long. You don't have to pull the bar hard against your shins, but the route must remain close to your body.
Allow the hips to rise faster than the shoulders
Then the floor start changes into a Romanian deadlift-like position along the way. Lighten the weight, raise the start and practice raising your chest and hips at the same time.
Lean back at the top
The repetition ends when you stand upright. Additional leaning back does not add useful lockout and makes the final position more difficult to control. Briefly tighten your buttocks and keep your ribs above your pelvis.
Continue every set until you lose technique
A beginner learns more from several neat sets than from one long set in which each repetition is different. Stop when you have one or two repetitions of the same technique left.
Romanian deadlift technique or conventional deadlift?
In the conventional deadlift, the weight starts quietly on the floor or on blocks. You bend your hips and knees and repeat each repetition. With the Romanian deadlift you start at the top, your hips move further back and the knee bend remains more limited. The movement stops as soon as your hamstrings tighten and your trunk control is maintained.
For the variation that starts at the top, read Romanian deadlift technique and hamstring training.
Build up slowly in four weeks
A simple beginner plan is about repeatable technique, not maximum weight. The general progression models for strength training recommend gradually adapting load to experience and performance (American College of Sports Medicine, 2009). Use that principle practically:
- week 1: two sessions with 3 x 5 light kettlebell deadlifts;
- week 2: two sessions with 3 x 6, without loss of technique;
- week 3: increase the weight slightly and go back to 3 x 5;
- week 4: Maintain the weight and only add a rep if all starts remain the same.
Rest between sets until your breathing and attention are calm again. Only increase one variable at a time: weight, reps, sets, or range of motion. Those who also want a broader home session can combine the deadlift with the schedule for training legs at home without equipment.
If a controlled Nordic progression fits your plan later, the Nordbelt product page for the training setup shows which parts are used for that. The set is a tool for the setup; your training choice, technique and dosage remain separate decisions.
Frequently asked questions
How heavy should a beginner deadlift?
Choose a weight with which you can perform at least five easy repetitions while keeping the starting position, back shape and weight route the same. The correct starting weight varies greatly per person and material. It is better to start too light and only increase when two consecutive sessions are technically stable.
Does your back have to be completely straight when performing a deadlift?
Your back does not have to be artificially flat or hollow. Aim for a neutral, firm torso whose shape changes little during the repetition. If you cannot reach the floor without significant loss of position, temporarily raise the starting height by placing the weight on stable blocks or use a kettlebell.
Why do I mainly feel the deadlift in my lower back?
First, make sure the weight is close to you, your core is engaged before the rep, and your hips don't rise faster than your shoulders. Lighten the load and reduce the range of motion if necessary. Sharp, increasing or unexplained complaints are not a technique cue; then stop and let the situation be assessed.
What is the difference between a deadlift and Romanian deadlift?
The conventional deadlift starts from the floor or blocks with each repetition and uses significant knee and hip flexion. The Romanian deadlift starts at the top, places more emphasis on the hip hinge and stops when hamstring tension and core control indicate the limit.
How often can a beginner deadlift?
One or two practice moments per week is manageable for many beginners, especially when the deadlift is done next to other leg and hamstring exercises. Leave plenty of recovery space between sessions and only increase when performance remains stable. More frequency is not automatically better if every session feels different.