Shipping 59.99 kr 30-day return period Support within 1 business day
Sweden Sverige SEK
SHOP SETTINGS Choose your country and language This shows the correct prices and payment options. Sweden SEK

You will stay on the same page

Hip thrust: setup, technique and practical checks

1000+ athletes
Man standing with both hands on a flat training bench in a bright room.

A hip thrust is a hip extension exercise with your upper back on a suitable, stable support and both feet on the floor. Start with a setup you can enter, move in and leave calmly. Check support, foot contact and repeatable movement before adding load. A stronger muscle sensation or heavier bar does not prove better technique. Here is what you can check and how the exercise differs from a floor bridge.

How does a hip thrust differ from a glute bridge?

In a glute bridge, your upper back rests on the floor; in a hip thrust, it is elevated. Both involve moving from bent towards straighter hips. The different support changes the setup and available movement. You cannot simply swap the exercise names and follow identical instructions.

In a biomechanical study of nineteen resistance-trained men, measured extension demand during the hip thrust was greatest at the hip joint. This explains the emphasis on hip extension; the study did not measure long-term muscle growth or injury risk (Brazil et al., 2021).

The photo below shows a floor bridge. Use it to recognise the floor contact, not as a demonstration of a hip thrust. For a broader home programme, see glute exercises at home.
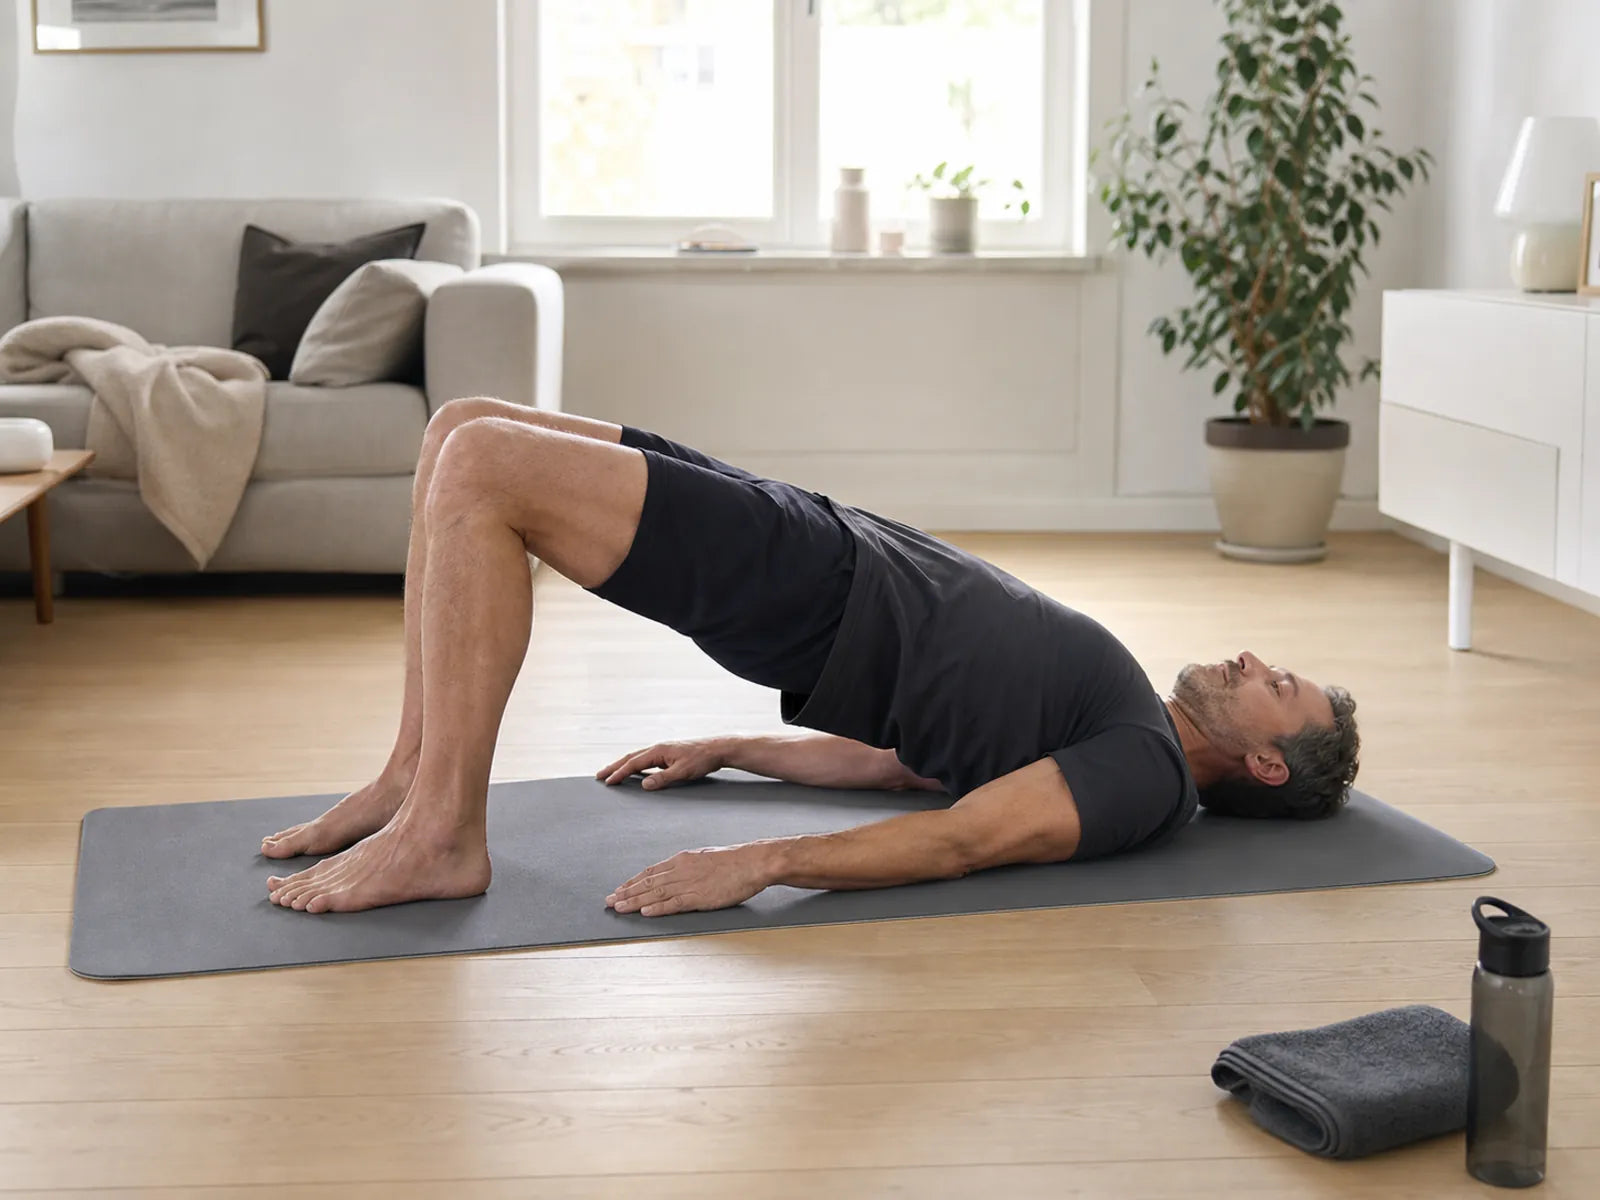
Man holding a two-leg glute bridge with his upper back and feet on the floor.

Check the setup before you start

Use a support suitable for the exercise that does not slide or tip. Check its locks and the floor beneath it; loose furniture is not automatically a training bench. The main photo only illustrates checking a bench. It does not establish its load capacity or suitability for your exercise.

Sit down without added load and find support for your upper back, below the shoulder blades. Your neck is not a support point. Place both feet fully on the floor and check that you can start and return without sliding. Ask a trainer to assess the setup if the edge presses into you, the height does not fit or getting into position remains awkward.

A supervised study adjusted the support and checked contact points and technique. Its positions were study procedures, not a universal bench height or foot distance for every lifter (Plotkin et al., 2023).

Nordbelt around sports shoes, ready for the first curl
REAL PRODUCT PHOTO
THE TOOL FROM THIS ARTICLE Nordic curls without a partner or bench — that is Nordbelt. 4.8 on Google · 1000+ athletes Discover Nordbelt 499.00 kr 449.00 kr Shipping 59.99 kr · 30-day return period

Perform the movement with control

  1. Practise without added load first. Keep your upper back supported and both feet in contact with the floor.
  2. Raise your hips slowly. Move through the hips; do not try to finish higher by arching your lower back further.
  3. Finish where you can extend your hips while controlling your trunk and pelvis. Do not force an end position to copy a picture.
  4. Lower your hips with control to a repeatable starting position. The bench and feet stay in place.
  5. Stop the repetition if you lose grip or support. Lower the load with control before adjusting the setup.

A barbell setup requires suitable padding, secured plates and a practised way to enter and leave the position. Have that first loaded setup explained in person. There is no standard starting weight here: even an empty bar may be unsuitable. Adding weight does not solve unstable support.

FREE 10-WEEK TRAINING PROTOCOL

Take your Nordic curl from the first rep to week 10.

A concrete 7-page plan: build up week by week, without pushing too fast.

  • A clear week-by-week progression
  • Technique and the mistakes to avoid
  • A simple log you will actually use

Backed by research

Van Dyk et al., 2019: meta-analysis of programmes with NHE. Not an effect test of Nordbelt or this protocol.

Straight to your inbox

A checklist for what you can observe

This editorial checklist helps you discuss one visible problem at a time. It is not a test proving safe technique or injury-free training.

What do you notice? What should you check first? What next?
The support slides or tips Suitability, locks and floor contact Stop and change the setup before continuing
A foot lifts or slides Full foot contact and access to the starting position Practise without added load and ask for a placement check
Your lower back mainly arches further Whether the finish comes from hip extension or trunk movement Use a controllable movement and request a technique check
You can get in but cannot get out calmly Free space and how to lower the load Practise both transitions before a loaded set

What does feeling your glutes tell you?

Muscle sensation is an observation, not a growth measurement. In 34 untrained young adults, nine weeks of supervised hip thrust or squat training produced similar increases in measured gluteal cross-sectional area. Higher electrical muscle activity in the first hip thrust session did not reliably predict later growth. This study does not establish a better exercise for everyone or optimal technique for your body (Plotkin et al., 2023).

When might a separate hamstring exercise fit?

A hip thrust does not require an ankle strap. If you independently choose Nordic curls at home, Nordbelt for home training explains fixing both ankles to a suitable anchor point. That is a separate exercise setup, not a hip thrust accessory or a substitute for technique coaching.
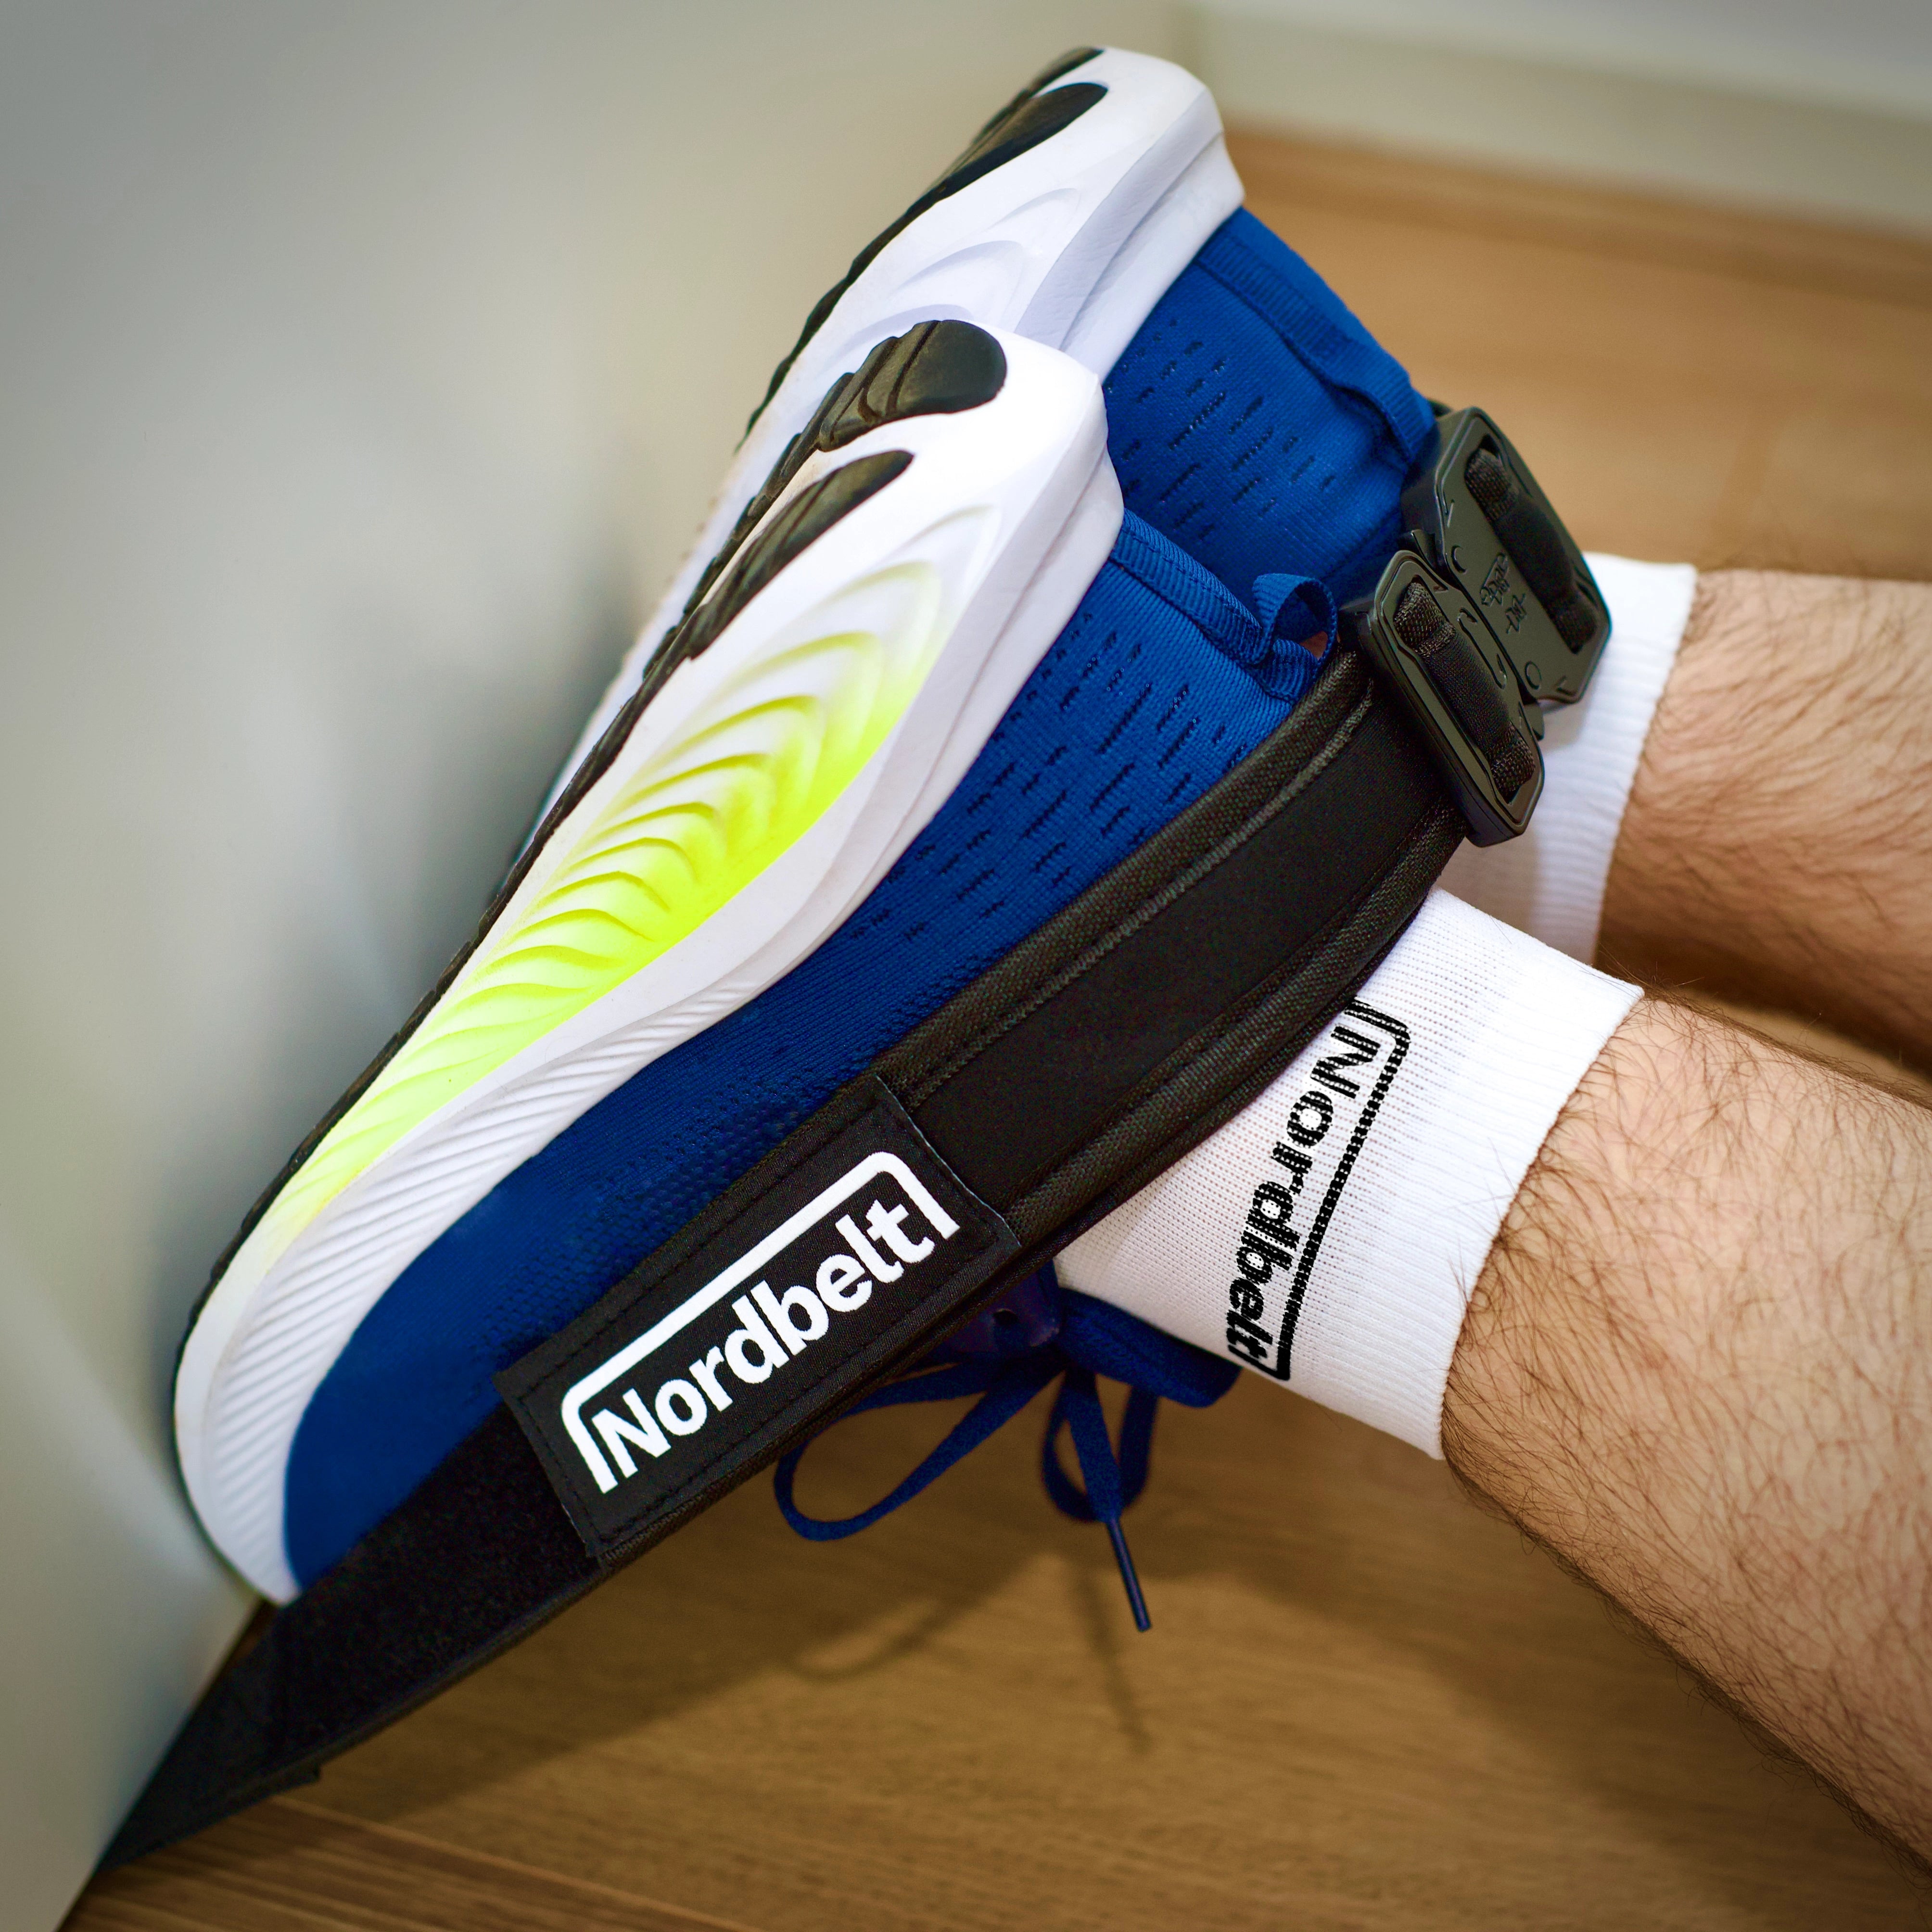
Close-up of Nordbelt ankle straps around two blue training shoes.

Example: change one thing at a time

Imagine a fictional lifter, Noor, whose feet slide forwards during a hip thrust. She has also heard that placing the feet farther away creates more muscle sensation. Her first question is practical, though: can she maintain the same starting position?

She lowers the load, checks floor contact and tries the movement without added weight. If a foot still slides, she asks for a setup assessment. She does not change bench height, foot distance and load together. Otherwise, it becomes unclear which change affected contact. This example is not personal training advice or a tested step-by-step protocol.

A simple note can help: which support did you use, where were your feet, what moved and which adjustment did you try? Also note any discomfort. This gives a trainer concrete information beyond saying that you could not feel the exercise properly in your glutes.

To understand hip movement versus back movement, read how to learn the hip hinge. For the role of different movements in strength training, posterior chain exercises gives a broader overview. Both address different questions from setting up this particular exercise.

Frequently asked questions

How high should the bench be for a hip thrust?

No height suits everyone. The support must be suitable and stable, support your upper back and allow a controlled start and return. Do not copy measurements from a photograph or research setup as a personal prescription. Have the setup assessed if moving requires sliding or pressing your neck against the edge.

Where should your feet go during a hip thrust?

Start with both feet fully on the floor and choose a position where you can repeat the movement without slipping. There is no fixed distance in centimetres here. A position that works for someone else may not suit your body and support. Foot contact and control are more useful initial checks than chasing a burning sensation.

Is the hip thrust better than the squat for glute growth?

That does not follow from the trial discussed here. In untrained young adults, measured gluteal changes after nine weeks were similar. Strength gains were more specific to the practised movement. These findings do not make either exercise a universal winner or provide an individual programme (Plotkin et al., 2023).

Do you need to feel your glutes strongly to perform it correctly?

Treat sensation as information to discuss, not your only technique measure. Also check support, foot contact and repeatability. A missing burning sensation is no reason to immediately add weight. Even electrical muscle activity did not reliably predict later growth in the trial discussed here (Plotkin et al., 2023).

What should you do if a hip thrust hurts?

Stop the exercise rather than training through pain or trying several heavy variations on the spot. Have your technique and setup assessed. Discuss persistent or recurring pain with a qualified healthcare professional; an article or a description of muscle sensation cannot establish its cause.

WRITTEN BY Nordbelt redactie Editorial team

Every article in this knowledge base is designed to be directly useful: clear technique, realistic progression and evidence without hype.

Meet the team behind Nordbelt
THAT WAS THE KNOWLEDGE · NOW THE PRACTICE

See Nordbelt work in 12 seconds

4.8 on Google · 1000+ athletes · 30-day return period

Nordic Hamstring Curl tool

Stronger
hamstrings.
Anywhere.

Nordbelt makes one of the best-researched hamstring exercises possible anywhere — without a training partner or expensive bench. At home, in the gym or on the field. Ready in under one minute.

REAL FOOTAGE · 0:12
ANCHORDOOR · BENCH · FENCE

“A must-have for every dedicated athlete or runner.”

Jesse van Hofwegen · Trustpilot
EXPERIENCE1000+athletes already use Nordbelt
PROFESSIONAL50+physiotherapy clinics use it
Up to 51% fewer hamstring injuries in programmes that include the Nordic Hamstring Exercise (NHE)

Used by50+ physiotherapy clinics

Logos of physiotherapy clinics and sports centres that use Nordbelt

01 THE MOVEMENT

Watch. And see why
the Nordic curl works.

  1. Phase 01Feet secured. Lean forward slowly from the knees.
  2. Phase 02Control the descent eccentrically — the muscle gets stronger as it lengthens.
  3. Phase 03Catch yourself with your hands, push back and repeat.

Eccentric training — producing force while the muscle lengthens — targets the moment when the hamstrings are loaded most during sprinting. The Nordic curl trains exactly that.

02 HOW IT WORKS

Secure. Click. Curl.

Go from your sports bag to your first controlled rep in under one minute. The three videos play automatically in sequence — tap a card to replay it.

“It is great to be able to do this exercise by myself.”

Jesse van HofwegenTrustpilot
00:04
01 — CHOOSE

Find a solid anchor point

Place Nordbelt under a sturdy door or attach it to a fitness bench, fence or beam.

00:05
02 — CLICK

Fasten and adjust to fit

Click the buckle closed and adjust the strap for a firm, comfortable position around your ankles.

00:09
03 — CURL

Start with control

Your feet are secured. Progress your Nordic Hamstring Curl training gradually and with control.

Includes a practical guide and a progressive 10-week training protocol.

View the full guide

03 TRAIN ANYWHERE

One tool.
Three anchor points.

The same Nordbelt, the same movement — wherever you train that day. Tap a location to see the real setup:

Safe use: read the instructions and conditions
Nordbelt secured under a sturdy door
01 / DOOR Under a sturdy, closed door

Place the anchor parts on the other side of the door, close it fully and check the attachment before you start.

“Wherever you are, training becomes easy.”

Sportfysio van LieropTrustpilot

04 THE KIT

Everything for your first set.

“The bag and cards are a really nice touch.”

AlissaTrustpilot
01

Nordbelt

Adjustable Nordic Hamstring Curl tool with a sturdy buckle and soft ankle rollers.

02

Storage bag

Compact enough for home, gym or field — it weighs next to nothing.

03

Manual

Clear setup and safety guidance for all three anchor points.

04

10-week protocol

Progressive training build-up, based on sports science.

REAL UNBOXING — THIS IS HOW IT ARRIVES
Thomas PereiraDoctor, sports scientist and co-founder

05 THE STORY

Not a gadget.
A frustration solved.

When I suffered a hamstring injury, I noticed how difficult it was to train properly at home without expensive equipment or help from others. That's why I developed Nordbelt.
  • 01

    Originated from real injury experience

    A real training problem was the starting point — not a marketing idea.

  • 02

    Medical and sports science foundation

    Further developed with physiotherapists and athletes in the field.

  • 03

    Built in Rotterdam

    Practical, direct and without unnecessary complexity.

Get to know the team

06 THE EVIDENCE

fewer hamstring injuries in programmes that include the Nordic Hamstring Exercise (NHE)

Meta-analysis · 8,459 athletes Br J Sports Med, 2019

Train with evidence.
Without the hype.

The Nordic Hamstring Exercise is one of the best-studied exercises in sports science. Nordbelt adds no magic — it simply lets you perform the exercise independently, practically and repeatedly. That is exactly the point.

  • 01

    Evidence-based exercise

    Training programmes that include the Nordic Hamstring Exercise show a clear reduction in hamstring injuries.

  • 02

    Build up progressively

    Start at a level that suits you and increase load and volume in a controlled way — the 10-week protocol helps you do that.

  • 03

    Widely applicable

    From football and athletics to fitness and supervised rehabilitation.

Source, context and safety note

Van Dyk N, Behan FP, Whiteley R. Br J Sports Med. 2019;53(21):1362–1370. This result concerns training programmes that include NHE; it does not show that Nordbelt itself prevents injuries.

Always use a stable anchor point, check every connection and follow a doctor’s or physiotherapist’s advice during injury, rehabilitation or return to play.

07 THE COMPARISON

The same exercise.
A smarter route.

Comparison of Nordbelt, a Nordic bench and training with a partner
Feature Nordbelt 449.00 kr Nordic benchhigher purchase cost Training partnerFree — if available
Train independently
Fits in your sports bag
Home, gym and field one fixed location± schedule-dependent
Ready in < 1 minute± setup & space± variable fixation
Consistent, firm fixation
Nordbelt
compare with
  • Train independently
  • Fits in your sports bag
  • Home, gym and field
  • Ready in < 1 minute
  • Consistent, firm fixation

Nordic bench · higher purchase cost

Indicative comparison based on common Nordic benches and training with another person’s assistance.

“Ideal if you do not want to buy an expensive bench.”

PaulTrustpilot

Convinced by the smarter route? 30-day return window. See the return conditions.

08 REAL PEOPLE

What athletes and physios
really think.

Kim van HeumenSports physiotherapist MSc. · Google★★★★★

“A great solution for performing the Nordic Hamstring Curl properly and easily. Useful in my work as a physiotherapist and in different locations.”

Jesse van HofwegenDedicated athlete · Trustpilot★★★★★

“A must-have for every dedicated athlete or runner. It is great to be able to do this specific exercise independently with Nordbelt.”

Hidde DemoedPhysiotherapy clinic · Google★★★★★

“A very useful tool for performing the Nordic Hamstring Curl. A must-have for every physiotherapy clinic.”

PaulTrustpilot★★★★★

Fast shipping and an ideal tool for Nordic curls if you don't want to buy an expensive bench. Great for strengthening your hamstrings.

Cem SelcukNordbelt user · Trustpilot★★★★★

“Very practical and sturdy. Nordbelt is easy to attach and feels stable. The training plan is clear and effective.”

Sportfysio van LieropSports physiotherapist · Trustpilot★★★★★

Excellent tool to perform the effective Nordic hamstring exercise at home, works well for recovery and is easy to carry.

John MeeuwisseNordbelt user★★★★★

“Great product, delivered quickly and very practical!”

Read every review, including the critical ones.

View Trustpilot reviews

09 FROM THE COMMUNITY

Built in Rotterdam.
Tested after dark.

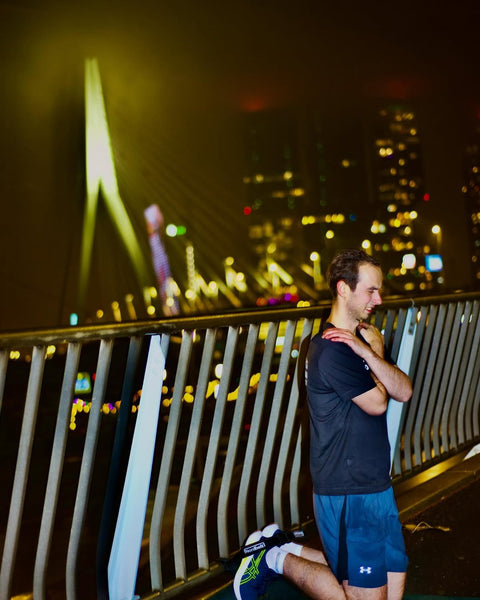
Follow @nordbelt.store
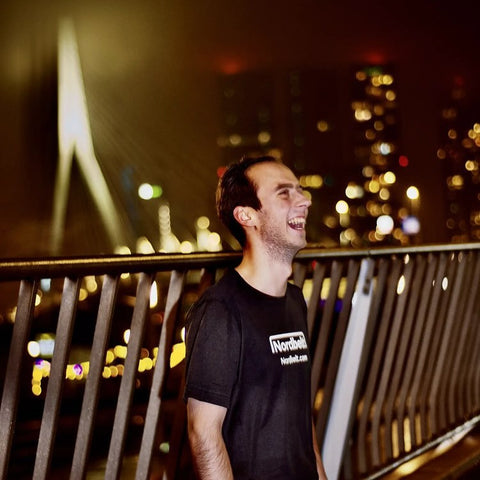
Smiling athlete on the Erasmus Bridge at night
ERASMUS BRIDGE · 23:40
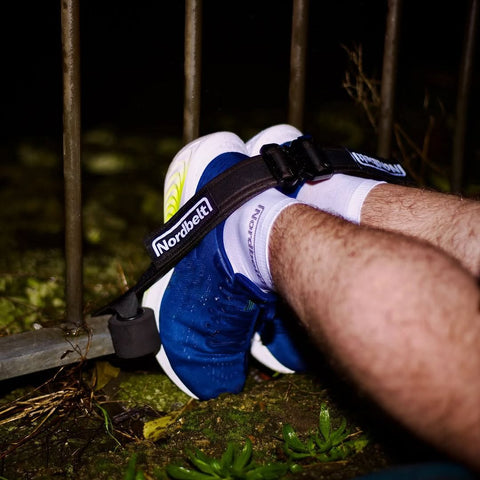
Nordbelt attached to a fence during an evening session
FENCE SETUP · OUTDOORS
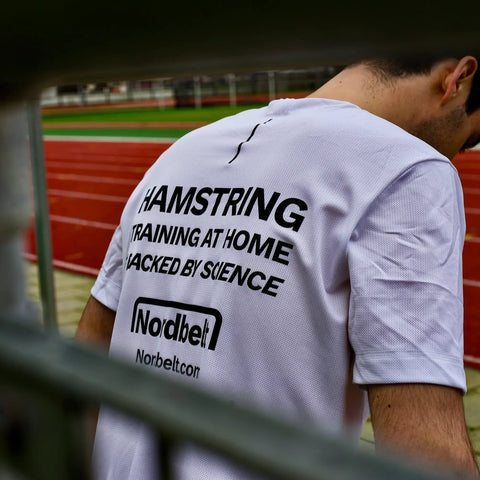
Hamstring Training at Home shirt on the athletics track
BACKED BY SCIENCE
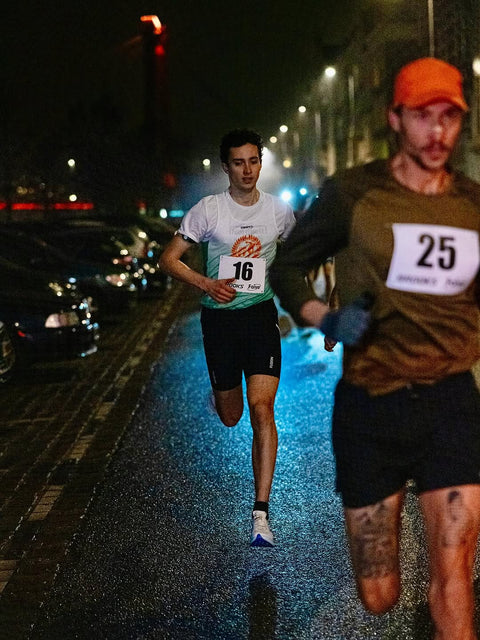
Two runners racing in the rain at night
PR NIGHT · RAIN
Athlete by the railing with the Erasmus Bridge behind
REST DAY? NO.
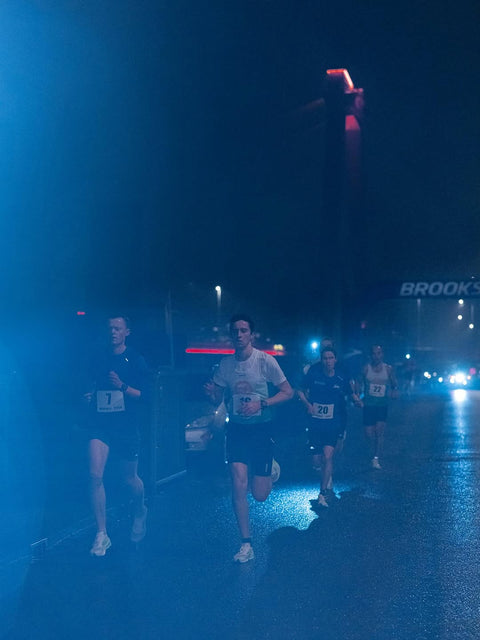
Runners in the mist at night
THROUGH THE MIST
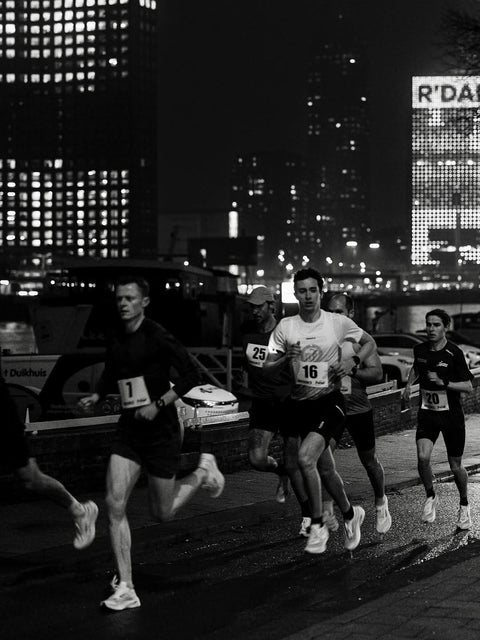
Group of runners in black and white through Rotterdam
R'DAM CREW
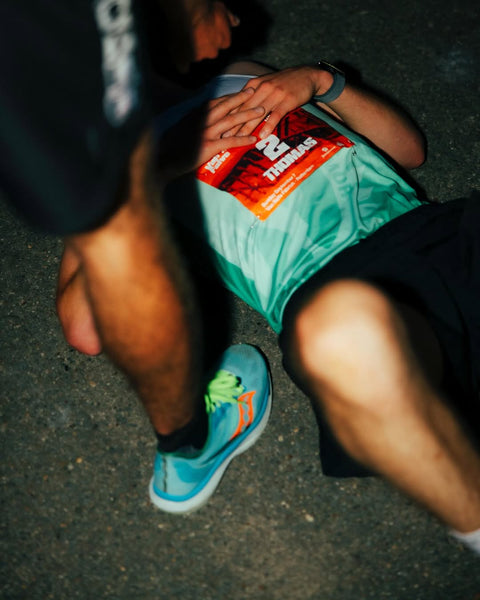
Exhausted runner on the ground after the finish
GAVE IT EVERYTHING

Real photos from the Nordbelt community and brand team — straight from nordbelt.nl.

11 FAQ

One more question
before you order?

Clear information upfront — no fine print hidden behind the buy button.

A personal question? contact@nordbelt.com We usually respond within 1 business day.
How do I use Nordbelt?

Choose a stable door, fitness bench, fence or beam. Close the buckle, adjust the length, check the attachment and start with controlled repetitions.

What is included in the package?

The Nordbelt, a compact storage bag, a practical guide and a progressive 10-week training protocol.

Do I need a training partner or bench?

No. Nordbelt is designed for independent training without a large Nordic bench. You do always need a firm, stable anchor point.

Is this suitable for recovery or rehabilitation?

Nordbelt can support controlled hamstring strengthening. During recovery, decide on timing, load and progression together with your doctor or physiotherapist.

What does shipping cost?

Standard shipping — Sweden: 59.99 kr. The same amount is shown again before payment.

Can I return it?

You can request a return within 30 days of receipt. The product must be unused, clean and in its original packaging; return shipping costs are paid by the buyer.

Is Nordbelt suitable for beginners?

Yes. Start with a smaller range of motion and support if needed, keep repetitions controlled and follow the included 10-week protocol. Stop if your technique breaks down or you feel pain.

Which anchor points are safe?

Only use a solid door, heavy fitness bench, sturdy fence or fixed beam that cannot open, slide or tip. Before every set, pull firmly on the attachment in the same direction as the training load.

How often can I train Nordic Hamstring Curls?

There is no single frequency that suits everyone. Use the 10-week protocol as a progressive starting point and match volume and recovery time to your level, sporting load and technique.

Where does the 51% fewer hamstring injuries claim come from?

The 51% refers to programmes that included the Nordic Hamstring Exercise, not to Nordbelt as a product. A systematic review and meta-analysis of 8,459 athletes (van Dyk, Behan & Whiteley, Br J Sports Med, 2019) reported a reduction of up to 51%; individual results are not guaranteed.

30-day return period

Try Nordbelt.
30-day return period

Returns are accepted within 30 days. The product must be unused, clean and in its original packaging; return shipping is paid by the customer. View return policy

  • 30-day return period Return shipping costs are paid by the buyer
  • Developed with physiosInstructions and conditions of use
  • Secure checkoutSecure payment · Usually processed in 2–3 business days
Shipping 59.99 kr · 4.8★ Google
Ready in < 60 sec
★★★★★

“Great product, very practical.”

John · Google

“A great tool for home use. Easy to take with you.”

Sportfysio van LieropTrustpilot

RTM / 2026 READY WHEN YOU ARE

Your strongest set starts
with one click.

499.00 kr 449.00 krsave 50 kr
  • Shipping 59.99 kr
  • 30-day return period
  • Secure checkout