

Nordic curl ankle straps for home: how to choose stable fixation


Nordic curl ankle straps for home need to perform one task reliably above all: keeping your lower legs low and stable while you move forwards under control. That sounds simple, but a strap that merely feels tight is not automatically suitable. Too much play makes your starting position uncertain, while a narrow pressure edge or an unfavourable angle can become uncomfortable as the load increases.
The right choice therefore does not start with softness, colour or the number of buckles. First look at the complete connection between the anchor, strap, shoe and ankle. You should be able to check that chain before every session, it should feel comparable on the left and right, and it must leave enough room to stop the repetition calmly. This guide explains the seven checks that tell you most about whether a home setup is usable.
At a glance: check these seven points
A usable Nordic curl strap for home does not depend on one magic measurement. Check the following together:
- the anchor cannot shift or open;
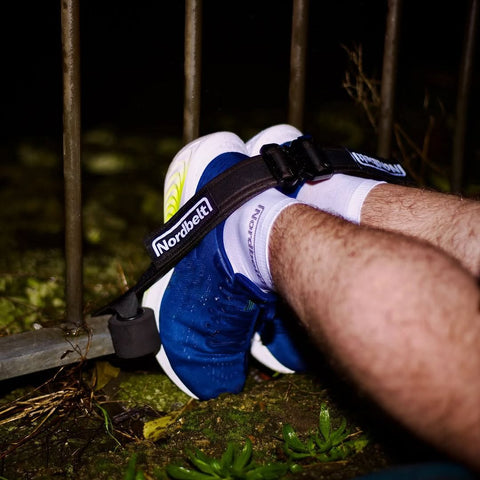
- the fixation runs low over the shoe and ankle;
- pressure is distributed over a sufficiently wide contact area;
- the left and right sides have the same length and angle;
- your heel cannot unexpectedly come out of the fixation;
- your knees, lower legs and feet can move freely;
- you can release the strap without rushing.
If you want to assess the complete environment rather than only the ankle strap, also read the guide to a safe Nordic hamstring curl setup at home. The floor, knee support and clear catch space are just as important as the fixation itself.

Choosing Nordic curl ankle support: assess function before comfort
Comfort matters, but it is not a separate selection criterion. A thick, soft strap can still shift. A firmer strap can feel comfortable when the force is distributed evenly over the shoe and lower part of the ankle. First assess what happens under light pulling force.
Take the kneeling start position and put tension on the fixation only, without immediately leaning forwards. The strap should not creep upwards, twist or visibly lift away from one shoe. At the same time, watch the direction of pull. It should draw your lower legs back towards the anchor, not rotate your feet inwards or outwards.
Then check whether both feet are in approximately the same position. Even a small difference in length can create uneven loading in the first few centimetres. Correct the adjustment before starting a repetition. If training space is limited, the separate guide to a Nordic curl setup in a small space helps you account for walls, furniture and the clear movement zone as well.
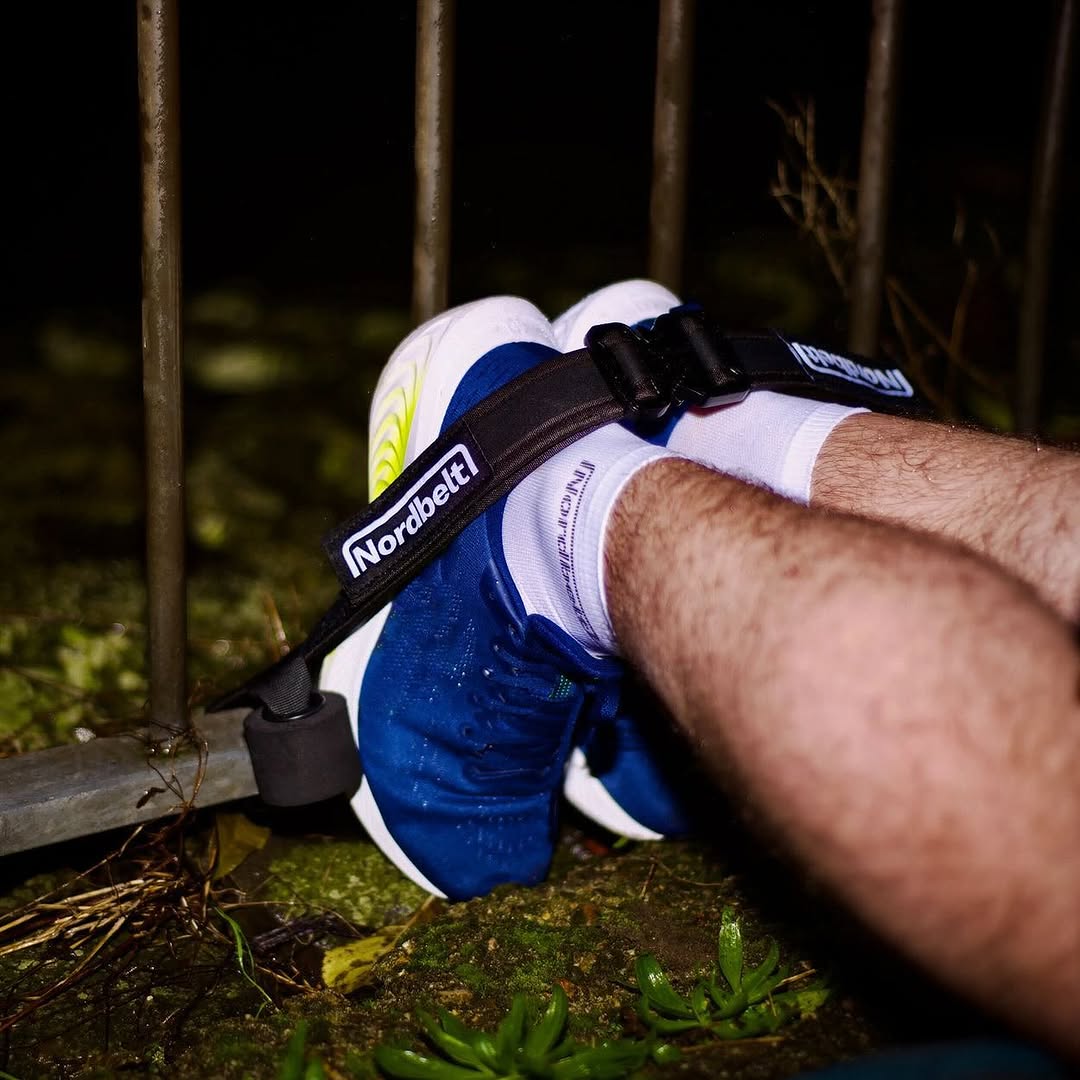
Ankle fixation for Nordic curls at home
Do you also want to add Nordic curls at home? You need a setup that fixes your ankles securely so you can train under control without a training partner or large fitness machine. With Nordbelt for Nordic curls at home, you can assess exactly that product function: a repeatable home setup with low ankle fixation. Always test the anchor, the strap path and your starting position first. The equipment does not take over responsibility for technique, dosage or gradual loading.
The deciding question is therefore not simply, “Is the strap attached?” Suitable fixation remains predictable as you build light tension, distributes pressure without a sharp edge and lets you stop the movement immediately if the position does not feel right. No solution automatically fits every shoe, ankle shape, door or other anchor point.
Take your Nordic curl from the first rep to week 10.
A concrete 7-page plan: build up week by week, without pushing too fast.
- 01A clear week-by-week progression
- 02Technique and the mistakes to avoid
- 03A simple log you will actually use

≤51%
✓Backed by research
Van Dyk et al., 2019: meta-analysis of programmes with NHE. Not an effect test of Nordbelt or this protocol.
Open the download page again or check the email we sent you.
Open the download page ↗Nordic curl strap around the ankles: where should you feel pressure?
With a good adjustment, you feel contact but not a narrow cutting line. The force should run across a wider area and should not be concentrated on the Achilles tendon, an ankle bone or a vulnerable edge of the shoe. Wear the shoes you actually plan to train in when assessing the setup; a different heel shape or sole height can change the strap angle.
First perform three calm tension tests. Pull your lower legs lightly against the fixation, relax and then check whether the strap is still in the same place. If you see shifting, folds or a twisted fastening, adjust it again. Only add range of motion once the position remains unchanged during this simple test.
A sock or soft padding can change how the contact feels, but it does not correct a poor line of force. Tightening everything further is also not the standard answer to play. First determine where the play originates: at the anchor, in the adjustment strap, around the shoe or in a difference between the left and right sides.
Nordic curl ankle comfort: comfortable without movement play
Comfort means you can focus on the movement without repeatedly repositioning your feet. It does not mean that you should feel nothing from the fixation. A strap that is too loose can initially feel comfortable but slide upwards only when loaded. A very tight adjustment, by contrast, can create unnecessary pressure before the repetition even starts.
Use a simple boundary: you should be able to remain calm in the starting position, feel the tension evenly and move your toes normally. Stop and readjust if you feel sharp pressure, tingling or numbness, see unexpected discolouration, or notice that the position is deteriorating quickly. Persistent or unexplained symptoms are not an equipment-selection issue; have them assessed appropriately before continuing to train.
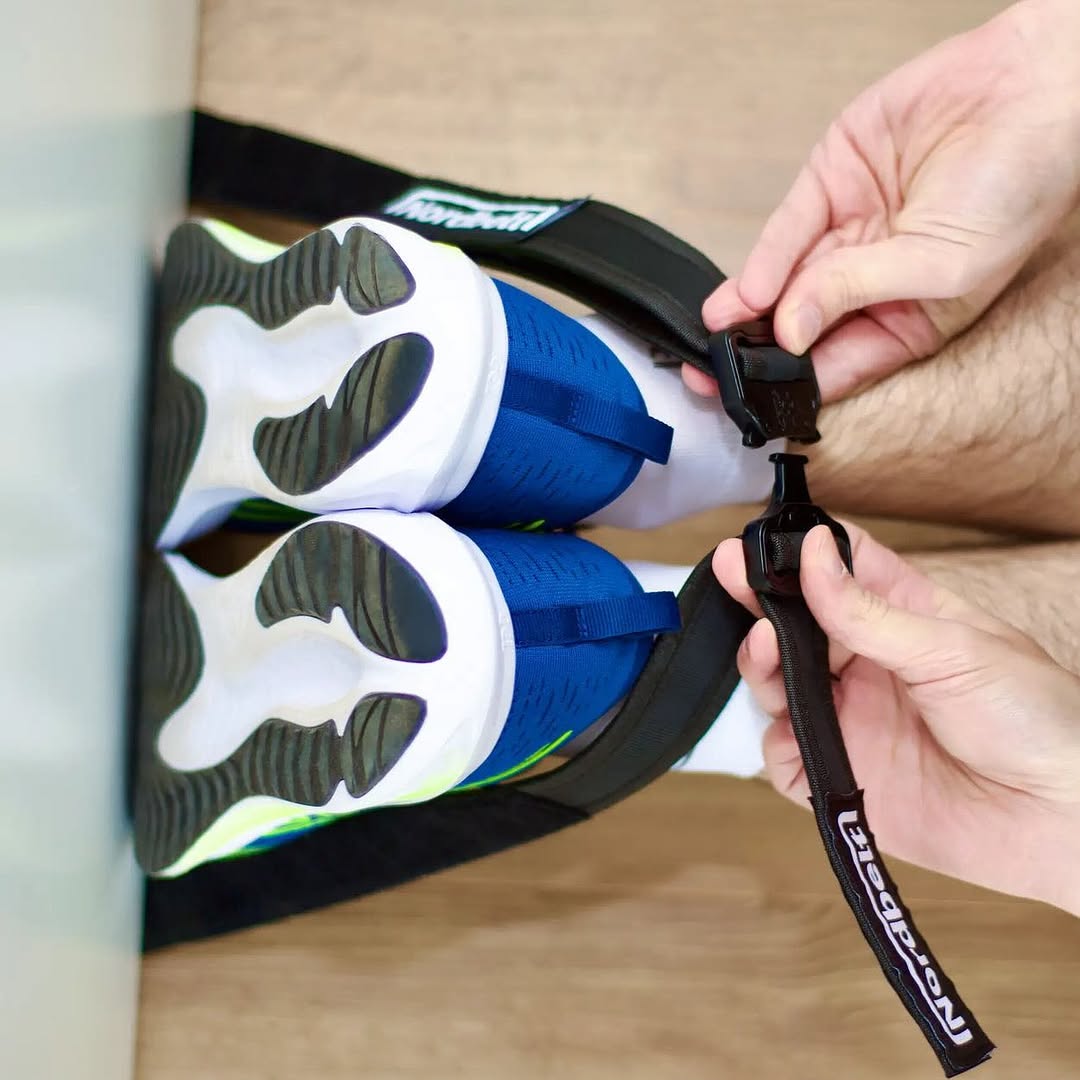
Also check the transition between the strap and fastening. A buckle or thickened section should not press against a prominent ankle edge as you move forwards. Rotate or reposition the strap only when that is consistent with the equipment's intended use.
Low Nordic curl foot fixation: keep the line of force symmetrical
Low fixation does not automatically reduce the lever; its exact position determines how the force enters the setup. Place both feet equally far from the anchor and compare the strap lengths before you start. Look from above to see whether your knees, lower legs and feet are roughly parallel. You do not need to force a perfectly straight posture, but the setup must not visibly pull you to one side.
Then make a small forward movement and return. Does the fixation remain equal on the left and right? Can you brake the movement without one heel suddenly lifting? If so, you can increase the range of motion step by step. Also review the guide to common Nordic hamstring curl mistakes, because an uneven start can look like a technique problem when the adjustment is actually responsible.
The check before every session
Make the equipment check a fixed sequence. That way you do not have to guess whether today's setup is the same as last time.
1. Inspect the anchor. Check the contact surface, closing direction and visible wear. Use a door anchor only on the intended side of a suitable, fully closed door. Pull on the setup with your hands before adding body weight.
2. Check the strap and fastenings. Look for fraying, tears, deformation or parts that do not close fully. Do not use damaged equipment.
3. Put on your training shoes. Do not assess the fit in socks if you perform the exercise in shoes. Check that laces and loose parts cannot enter the fastening.
4. Match the left and right sides. Compare the length, position over the shoe and angle towards the anchor.
5. Test light tension. Stay upright on your knees and pull calmly against the fixation three times. Nothing should open, slip through or twist.
6. Test a short range of motion. Move forwards only a few centimetres and return under control. Use your hands or a support if necessary to limit the load.
7. Check the exit. You must be able to get out of the straps without rushing after the set. Keep the fastening within reach and clear the route beforehand.
When should you reject Nordic curl ankle straps?
Do not use the setup if the anchor moves, the fastening does not close completely, one strap visibly becomes longer or the fixation continues to shift after readjustment. The same applies if a pressure point already feels sharp in the starting position or if the shoes do not provide a predictable contact area for the strap.

An environment that is too cramped is also a reason to reject the setup. You need room for the forward movement and for a controlled catch with your hands, a cushion or a suitable regression. For a broader explanation of the exercise, read all about the Nordic hamstring curl.
Build the range of motion gradually
A stable strap does not automatically make a large first repetition sensible. Start with a range you can brake and in which the fixation continues to feel the same. Improve control first, then increase the distance. Research programmes using the Nordic hamstring exercise vary in volume and progression, which supports a planned build-up rather than a maximal first session (Medeiros et al., 2020).
Practical feasibility and the ability to sustain a programme are also relevant when applying it outside a research setting (Ripley et al., 2021). Choose an adjustment that you can check quickly and consistently. It is better to change one variable per session—such as range, support or volume—than everything at once.
Decide based on your own anchor, shoes and fit
The best Nordic curl ankle straps for home are not those with the greatest tension, but the fixation you can demonstrably check before every set. The product role remains clear: enabling Nordic curls at home through stable ankle fixation, without a training partner or large fitness machine. Whether the setup suits your situation depends on the anchor, the shoes, the contact around your ankle and a short tension test.
Once you have made that choice, use the step-by-step guide to review the full sequence for assembly, positioning and execution. Keep the first sessions manageable and stop as soon as the fixation or your position changes unexpectedly.
Frequently asked questions
Should a Nordic curl strap be as tight as possible?
No. The strap should limit play without causing sharp pressure or an unfavourable line of force. Test the position under light tension first.
Can I do Nordic curls at home without a training partner?
You can with a suitable, stable home setup. Before every session, check the anchor, strap path, clear space and your ability to catch the movement.
Should I wear shoes in Nordic curl ankle straps?
Assess the fixation with the shoes you intend to train in. The heel shape, upper and sole affect where the strap makes contact.
What should I do if one foot moves more than the other?
Stop the repetition. Compare the strap length, shoe position and anchor angle, readjust everything, and repeat the light-tension test before continuing.