Learn the hip hinge: technique, 3 drills and mistakes

Learning the hip hinge means bending from your hips while keeping your knees softly bent and your trunk steady. Push your hips back, keep pressure across your whole foot and stop when your hamstrings become tense without your lower back changing shape. Start with a wall tap, then use a dowel along your back and only then practise the movement freely. This lets you learn the hinge before adding weight, speed or a deadlift variation.

4.8/5 reviews 120+ athletes preceded you 30-day return period
View Nordbelt Open manual
Adult woman practises a wall tap at home to learn the hip hinge.

Quick overview

The hip hinge is not a deep squat. In a clean repetition your hips travel mainly backwards, your knee angle changes only slightly and tension builds along the back of your thighs. Begin without weight. Can you tap the wall, keep three contact points with a dowel and complete six calm repetitions without losing balance? Then the foundation is stable enough to make the movement a little larger or heavier.

This page is about the movement pattern. When you want to load it, continue with the related guide to the Romanian deadlift as a hamstring exercise. That page covers weights, variations and programming; this one stays focused on where the movement comes from.

What is a hip hinge?

A hip hinge is a movement in which your torso leans forwards because your hips flex. Your hips travel back, your feet stay firmly planted and your spine keeps roughly the same shape. You see the pattern in a Romanian deadlift, kettlebell deadlift, single-leg deadlift and many everyday lifting tasks.

That does not make the hinge one specific exercise. It is a skill on which you can build exercises later. Hamstring-activation research shows that different hip- and knee-dominant exercises can emphasise different areas within the same muscle group (Bourne et al., 2017). It therefore makes sense to master the hinge first and then choose the exercise that fits your training goal.

Wall hip-hinge drill

The wall tap is the simplest hip-hinge drill. You only need a clear wall and about an arm’s length of space.

  1. Stand with your back to the wall, roughly 15 to 20 centimetres away.
  2. Place your feet about hip-width apart and soften your knees.
  3. Hold your hands by your ribs or in front of your chest.
  4. Push your hips back until your glutes gently touch the wall.
  5. Keep your feet flat and stop your knees from continuing to travel forwards.
  6. Return by bringing your hips forwards without leaning backwards.
If this is easy, move your feet a few centimetres farther from the wall. Stop when you have to jump backwards, your toes lift or you can reach the wall only by rounding your back. The correct distance is the one at which you can still control the entire movement.

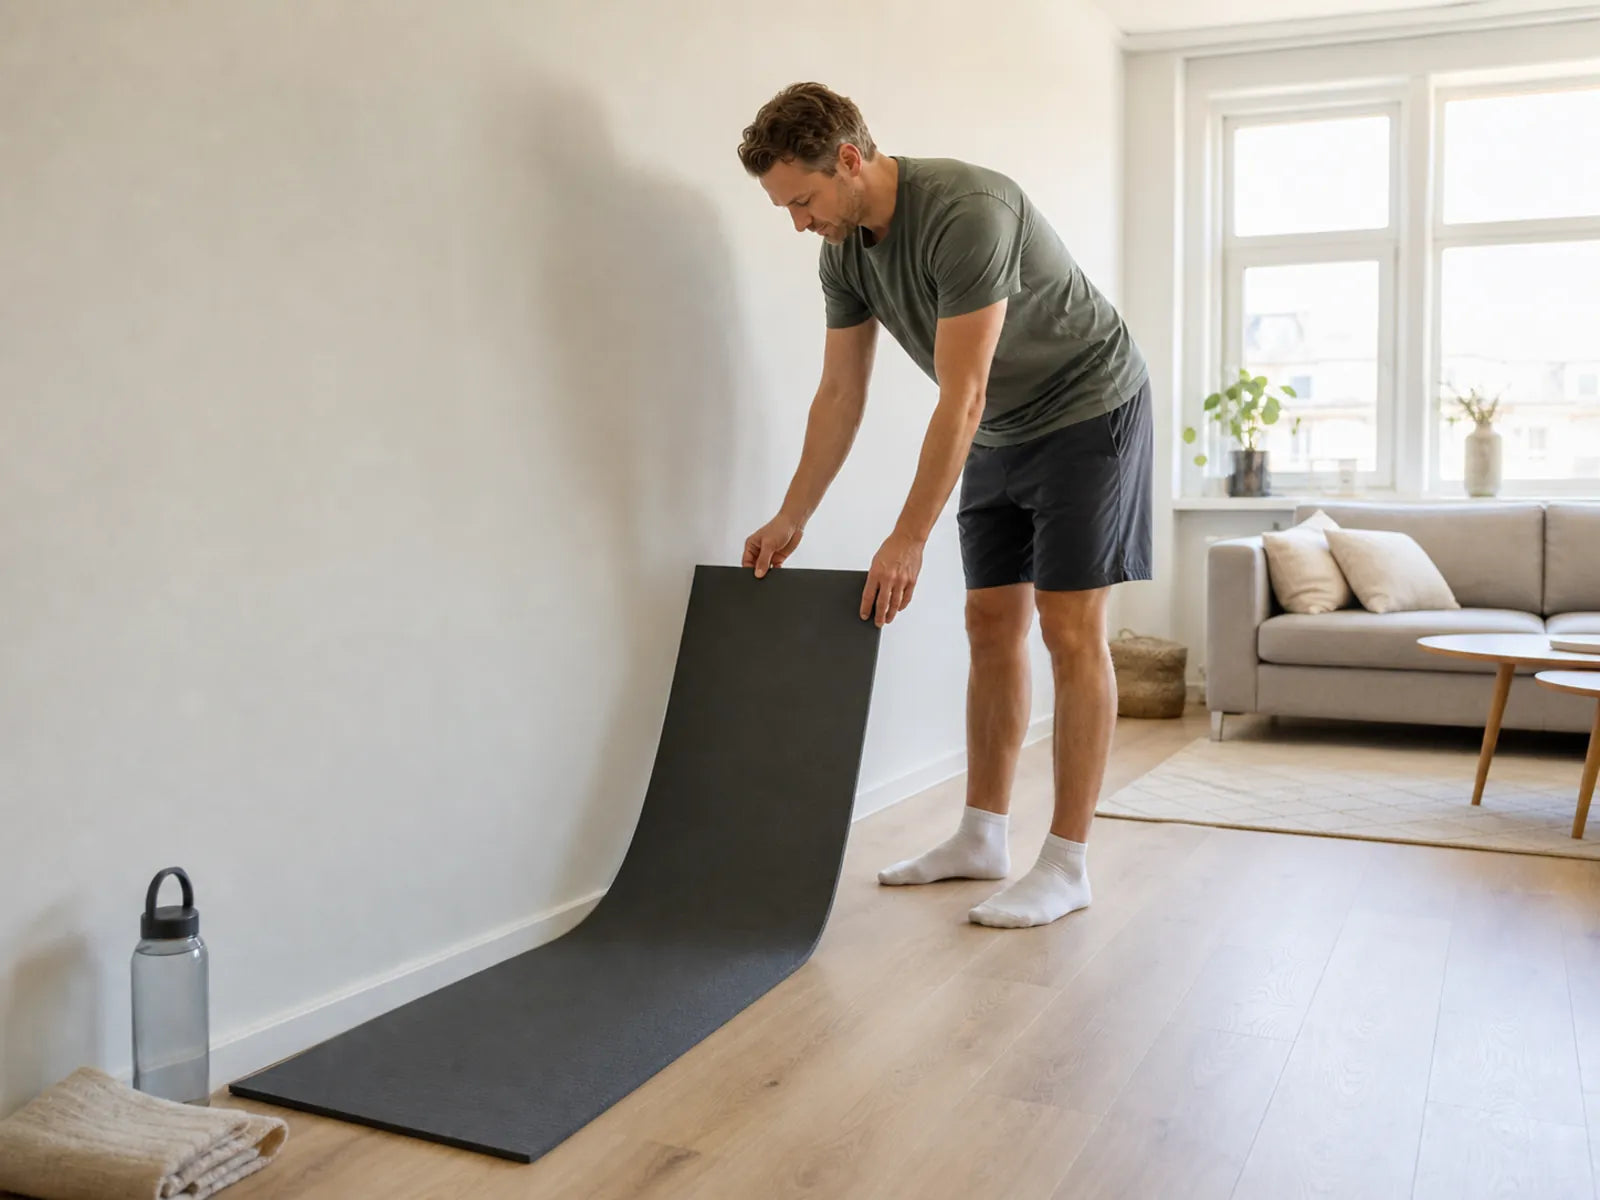
Adult man sets up a mat at home to practise the hip hinge.

Hip-hinge technique with a dowel

A dowel helps you check whether your hip-hinge technique comes from your hips without your torso changing shape along the way. Use a broom handle, PVC pipe or light training stick.

Hold the dowel vertically along your back. Let it touch three points: the back of your head, upper back and sacrum. Hinge forwards slowly while maintaining all three points of contact. A small natural gap at your neck and lower back is normal; you do not need to press your spine flat against the dowel.

Watch for these signs:

  • if the dowel loses contact with your sacrum, you are often rounding through your lower back;
  • if it loses contact with the back of your head, you may be lifting your chin or dropping your chest;
  • if your knees continue to bend more deeply, the hinge is turning into a squat;
  • if your weight shifts towards your toes, your hips are usually not travelling back far enough.

Complete two sets of five slow repetitions. Pause for one second at the bottom and move only as far as you can while keeping all three contact points.

Adult woman practises a hip hinge at home with a neutral spine.

Hip hinge or squat?

In a squat, your knees and hips move together and your pelvis travels mainly downwards. In a hip hinge, your hips travel mainly backwards and knee flexion stays more limited. Both movements can belong in a leg programme, but they do not solve the same technique problem.

Use a simple check. Place a chair behind you. In a squat, lower yourself towards the seat under control. In a hinge, reach the edge with your glutes while your shins remain relatively still. If every hinge feels like a squat, reduce the range of motion and return to the wall drill.

If you want to combine both patterns in one home session, the guide to training legs at home without equipment gives a broader split across squats, lunges, hinges, bridges and hamstring work.

Feeling your hamstrings in the hip hinge

Feeling your hamstrings in the hip hinge usually means a gradual tension along the back of your thighs, not a sharp stretch or pain. The tension increases as your hips travel farther back while your knee angle stays roughly the same. You do not need to lower yourself as far as possible.
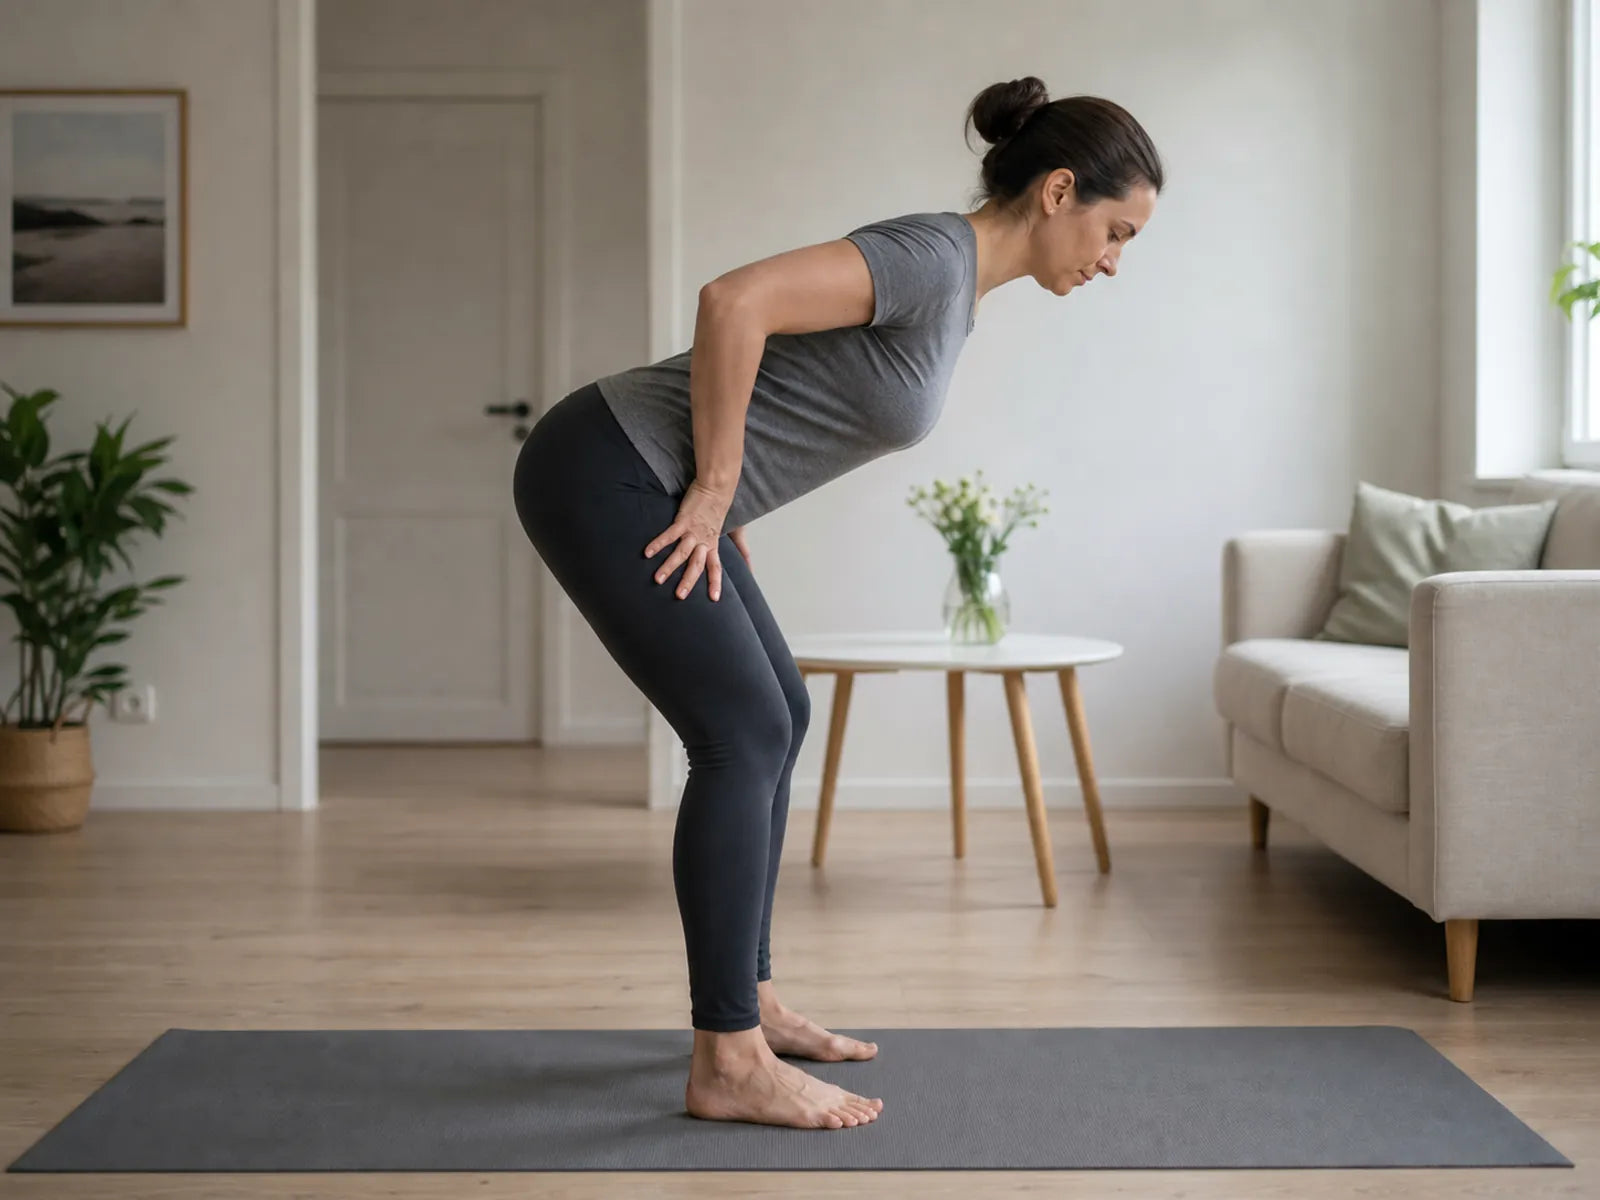
Try this third drill:

  1. Place your fingertips in the crease at the front of your hips.
  2. Push your hips back as if you wanted to make that crease smaller.
  3. Keep your knees soft without allowing them to bend more deeply.
  4. Stop as soon as you clearly feel tension at the back of your thighs.
  5. Stand up and briefly contract your glutes without arching your lower back.

If you feel only your lower back, make the movement smaller and use the wall or dowel again. If you mainly feel the front of your thighs, you are probably bending your knees too much. Comparisons of lower-body exercises support that hip-dominant and knee-dominant variations do not create the same muscular demands (McAllister et al., 2014; Ebben, 2009).

From hip hinge to deadlift movement

If you want to learn the deadlift movement, add load only after the unloaded hinge is repeatable. Use this progression:

  • wall tap: 2 x 6 calm repetitions;
  • dowel test: 2 x 5 with a short pause at the bottom;
  • free bodyweight hinge: 2 x 8;
  • light backpack or kettlebell held close to the body: 2 to 3 x 6;
  • only then move to a specific Romanian-deadlift or deadlift variation.

Progress only when your feet stay stable, the movement comes from your hips and each repetition looks much the same. A heavier weight does not correct an unclear pattern. It mainly increases the need to maintain tension and position.

For a full overview of other posterior-chain options, continue with effective hamstring exercises or a practical home hamstring exercise plan.

Keeping a neutral back while bending

Keeping your back neutral while bending does not mean forcing your lower back into a perfectly straight or rigid position. The aim is for your spine to retain a calm, neutral shape while your hips produce most of the movement. Look at the floor roughly one to two metres ahead, keep your ribs above your pelvis and take a calm breath before each repetition.
Avoid both extremes: lifting your chest excessively and arching your lower back, or lowering so far that your pelvis tucks under and your back rounds. The best depth is the largest range you can still control. You can film yourself from the side. Check the hip movement, knee angle and spinal shape rather than how close your hands come to the floor.

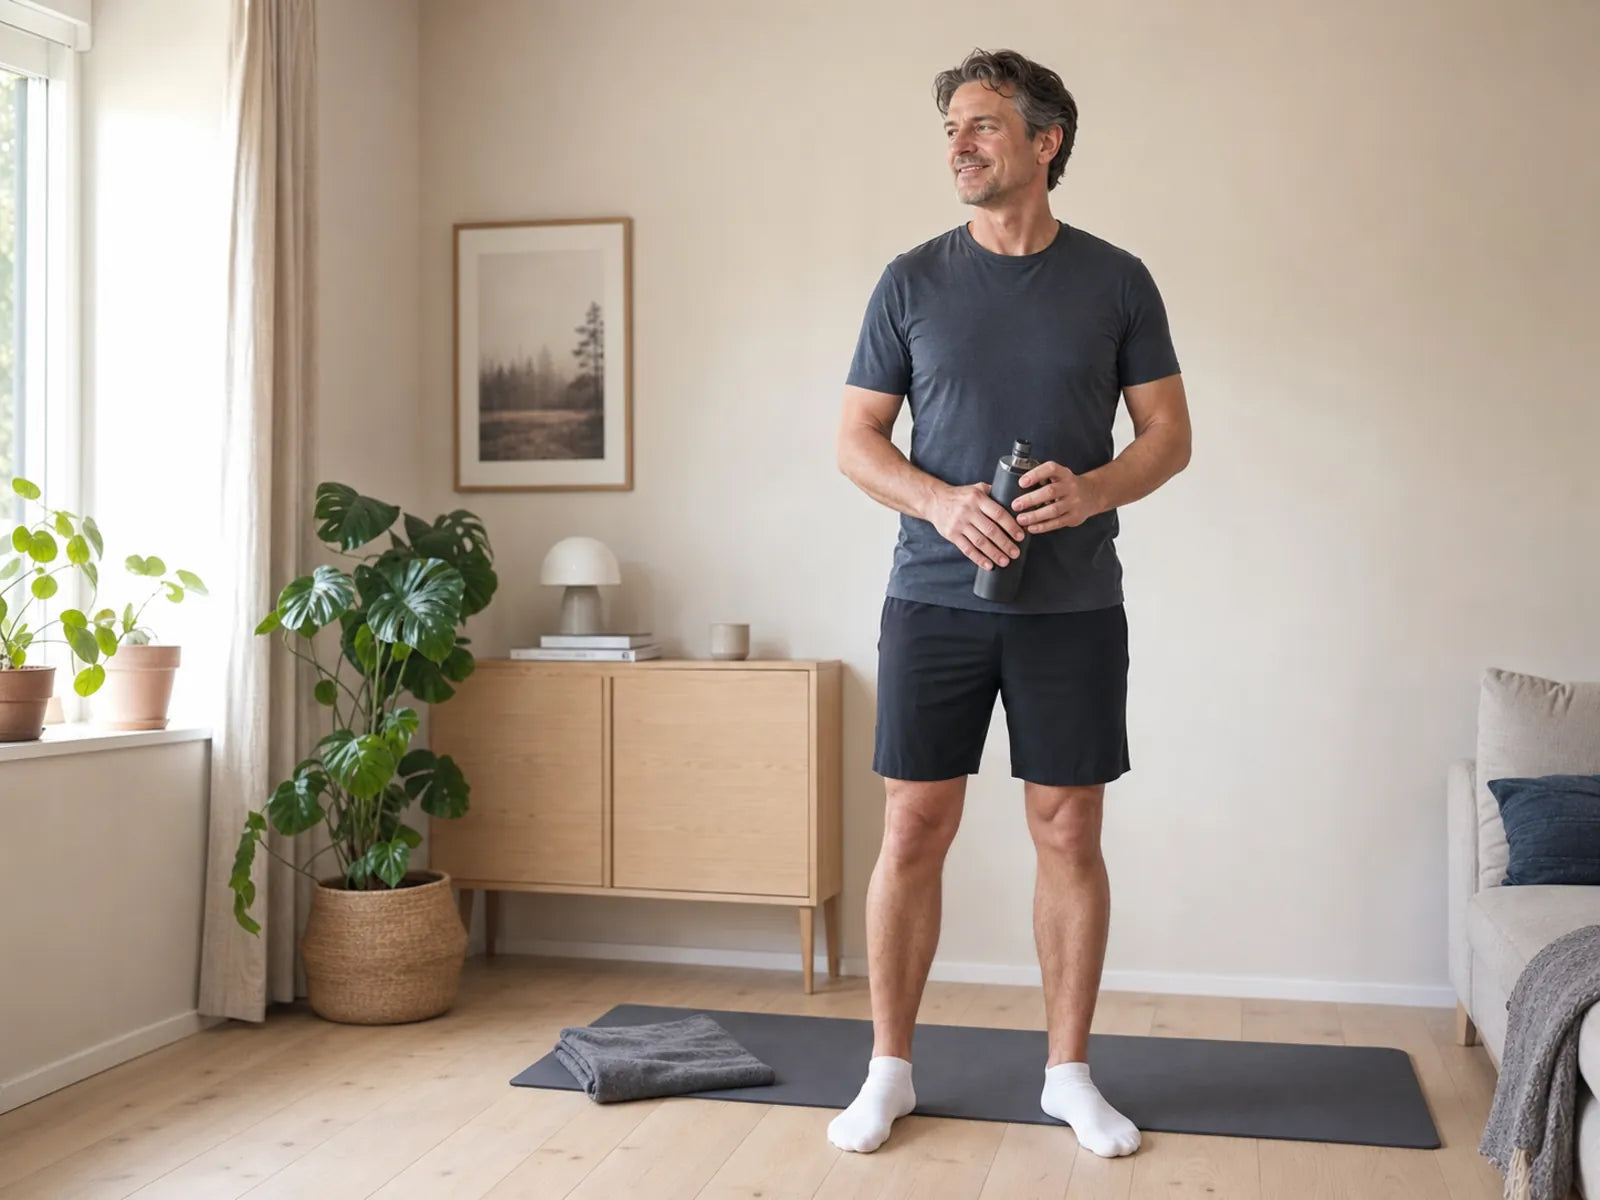
Adult man relaxes after a short hip-hinge practice session at home.

Once the hinge feels solid, combine it with bridges, sliders or, later, a controlled Nordic progression. The Nordbelt How-to guide explains low ankle fixation when you are ready for that later step. Nordbelt provides a stable ankle setup; it does not replace the hip-hinge technique learned here.

Frequently asked questions

What is a good hip-hinge drill for beginners?

The wall tap is the best first hip-hinge drill for many beginners. The wall gives you a clear target: your hips move backwards without you having to guess how far. Start close, keep your feet flat and increase the distance only when you can touch the wall calmly without falling backwards or rounding your back.

How do I know whether my hip-hinge technique is correct?

Your hip-hinge technique is useful when your hips clearly travel backwards, your knees stay softly bent, your feet remain stable and your spine keeps roughly the same shape. You feel gradual tension in your hamstrings and glutes. The dowel test is a practical check: the back of your head, upper back and sacrum remain in contact.

Why can’t I feel my hamstrings during the hip hinge?

You may be bending your knees too much, moving too little from your hips or shifting your weight towards your toes. Return to the wall tap, keep your shins quieter and push your hips farther back. Do not deepen the movement once your spinal position changes. Tension can be clear, but it should not feel sharp or painful.

Can the hip hinge teach me the deadlift movement?

Yes. The hip hinge is the movement foundation for many deadlift variations. Learn the wall tap, dowel test and free bodyweight hinge first, then add a light backpack or kettlebell. Use the separate Romanian-deadlift guide for specific RDL technique, load selection and variations so the movement skill and loaded exercise each retain a clear owner.

How do I keep my back neutral while bending?

Move your hips backwards, keep your ribs calmly above your pelvis and stop before your lower back changes shape. A neutral back is not forced flat; it is a repeatable position without excessive arching or rounding. Use a dowel along your back or film yourself from the side to check the movement.

Nordic Hamstring Curl Tool

Strengthen your hamstrings to top-sport standards.

Up to 50% fewer hamstring injuries, now possible with Nordbelt at home or wherever you train. Up to 50% fewer injuries.

Works on door, bench, fence or beam. Includes storage bag + training protocol. Up to 50% fewer injuries No partner needed.
No partner needed. Start within 1 minute. Can be used anywhere: at home, gym or field Developed with professional physio input
Trustpilot 4.4/5 4.8/5 Google Reviews4.8/5 20+ partner physio practices
30 days of risk-free testing Secure checkout Ordered before 11 PM, delivered tomorrow
Strengthen your hamstrings to top-sport standards.

Trusted by professionals and athletes

Trustpilot 4.4/5 Google Reviews 4.8/5
Google Reviews 4.8/5
We use the Nordbelt in our physio practice and recommend it for recovery, performance and specific hamstring training.
Chantal - Sports physiotherapist MSc Google review
Trustpilot 4.4/5
G Google Reviews 4.8/5

Trusted by professionals and athletes

★★★★★ 4.8/5 120+ athletes 30-day return period 20+ partner physio practices
Google Reviews 4.8/5

We use the Nordbelt in our physio practice and recommend it for recovery, performance and specific hamstring training.

Chantal - Sports physiotherapist MSc Google review

Easy and quick to use, anywhere

Super fast and easy to use: in three short steps you are ready for your first rep.

1

Choose your setup: door, fitness bench or fence.

Place Nordbelt under a sturdy door and pull it through the buckles.

2

Clip in and adjust the length.

Clip the buckles closed and adjust the length for the right fit.

3

Start immediately with your first set.

You are locked in. Time for Nordic Hamstring Curls and stronger hamstrings.

Where can Nordbelt be used?

Use Nordbelt everywhere, regardless of your training location

Swipe for more examples

Nordbelt attached to door

Nordbelt attached to door

Doors

Place under a sturdy door and train at home without additional equipment.

View setup in manual
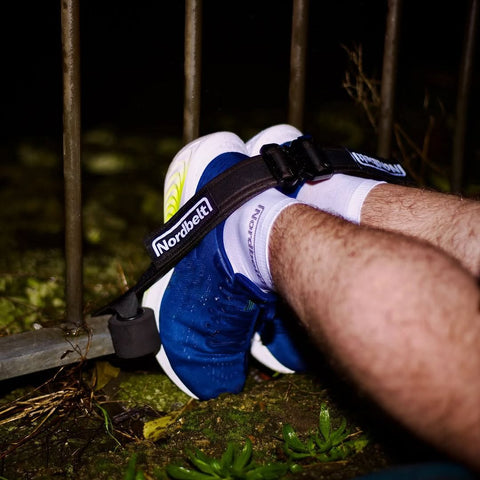
Nordbelt on fence or beam

Nordbelt on fence or beam

Fences or beams

Simply attach to a fence or beam and train on the field or in the park.

View setup in manual
Nordbelt on fitness bench

Nordbelt on fitness bench

Fitness bench

Use Nordbelt on almost any stable fitness bench and train directly in the gym.

View setup in manual

Evidence

Up to 50% fewer hamstring injuries with consistent Nordic Hamstring Curl training.

The Nordic Hamstring Curl is the safest and strongest proven exercise for strong, resilient hamstrings.

*Source: Petersen et al., BJSM 2011

Nordic Hamstring Curl animation

Evidence-basedResearch shows NHC can be built up safely, including during hamstring rehab.

Top sport provenWidely used in elite sport (football and athletics) and directly usable at home, gym or field.

A few reps per weekHighly studied and safe to progress gradually with controlled loading.

Open: view protocol, clinic quotes and source detail

Programmes with the Nordic Hamstring Exercise. 51%  fewer hamstring injuries reported.

The Nordic Hamstring Exercise is a strongly researched training principle; programmes with NHE report up to 51% fewer hamstring injuries.

Nordbelt facilitates the Nordic Hamstring Curl and makes the exercise practical, repeatable and controlled in clinic, sport setting and at home.

Progressive protocol

10-week progression protocol included

A practical progression the clinician can adapt to load tolerance, technique and the agreed pathway.

Reps per session
  1. 5 5×1 W1
  2. 6 6×2 W2
  3. 7 7×3 W3
  4. 8 8×3 W4
  5. 9 9×3 W5
  6. 10 10×3 W6
  7. 10 10×3 W7
  8. 12 12×3 W8
  9. 12 12×3 W9
  10. 12 12×3 W10

Source: van Dyk N, Behan FP, Whiteley R. Br J Sports Med. 2019;53(21):1362-1370. PMID: 30808663. DOI: 10.1136/bjsports-2018-100045.

“Programmes that include the Nordic Hamstring Exercise reported up to 51% fewer hamstring injuries.”
van Dyk, Behan & Whiteley · Br J Sports Med · 2019
“Nordbelt makes the same exercise setup practical in the treatment room and at home.”
Nordbelt clinic flow
−51% hamstring injuries reported in programmes with Nordic Hamstring Exercise
8,459 participants in the systematic review and meta-analysis
10 weeks practical progression plan for guided instruction
1 setup recognisable in clinic, sport setting and at home

Nordbelt is a training tool for performing the Nordic Hamstring Curl. Its use within treatment, rehabilitation or return-to-play is determined by the treating professional. Always use a stable anchor point, correct attachment and suitable load.

Check Nordbelt via Trustpilot and Google Reviews

Check external reviews for extra confidence before ordering.

4.8/5 Google reviews
4.4/5 Trustpilot reviews
GooglePhysio
A great solution for performing the Nordic Hamstring Curl properly and easily. Useful during my work as a physiotherapist and usable in different locations.
GooglePhysio
Very good tool for performing the Nordic Hamstring Curl. A must-have for every physiotherapy clinic. Very happy with it!

Real videos

See exactly what you get and how to start safely

Real unboxing and short demos: less doubt, faster first set.

@Nordbelt open Instagram
How-to video

Set up Nordbelt at home

See how to attach, adjust and prepare Nordbelt at home for your first safe repetition.

Unboxing

First impression in 15 sec

See the packaging, finish and size exactly as it arrives at home.

Review

Instagram unboxing

Raw Instagram unboxing for a realistic view of delivery and first setup.

Meet the team behind Nordbelt

Built by a team with a medical and sports science base

When I suffered a hamstring injury, I noticed how difficult it was to train properly at home without expensive equipment or help from others. That's why I developed Nordbelt.
  • Originated from real injury experience
  • Further developed with medical professionals
  • Practically tested for home, field and gym

Nordic Hamstring Curls without a partner, bench or hassle

Nordbelt makes one of the best hamstring exercises practical to perform: at home, on the field or in the gym. Fixed in under a minute and ready to train.

01

No partner needed

Secure your feet independently and train whenever you want. No teammate, physio or training partner needed.

02

No expensive Nordic bench needed

Use a sturdy door, gym bench, fence or beam. You do not need to buy a large or expensive machine.

03

Ready in under 1 minute

Compact, quick to secure and easy to carry in your sports bag. Ideal for home, practice or the gym.

04

Training protocol included

You get clear guidance to build up calmly and work consistently on hamstring strength.

It's that easy

Watch the full flow on video

In a few seconds, see exactly how to place, adjust and start training with Nordbelt.

4.8/5 customer score 30-day return period Used by 20+ partner physio practices

Answers to frequently asked questions

How do I use the Nordbelt™?

You use Nordbelt™ to perform the Nordic Hamstring Curl with a stable attachment to a door, fitness bench, fence or beam.

Choose a fixed spot, click the buckle closed, adjust the band to size and immediately start with controlled repetitions. This way you can train consistently at home, outside or in the gym.

Can I use the Nordbelt™ if no door is available?

Yes. Nordbelt™ also works on fitness benches, fences and beams, so you are not dependent on a door.

This means you can train almost anywhere: at home, on the sports field or in the gym. Always choose a sturdy, stable mounting location for a safe implementation.

What is included with the purchase?

With your order you will receive the Nordbelt™ itself, a storage bag and a practical manual with training protocol.

So you immediately have everything you need to start safely and follow your build-up in a structured manner.

Can I also order outside the European Union?

We currently ship within Europe and to England.

Orders outside this region are not yet available. For business or specific shipping questions, please contact contact@nordbelt.com.

What does shipping cost?

Shipping within the Netherlands is free.

For delivery outside the Netherlands, shipping costs are calculated automatically based on your location and the available carrier. You always see this clearly during checkout.

How soon can I start training?

Most athletes can start their first set within about 1 minute.

The quick setup and fixed protocol make it easy to incorporate your training into your weekly routine.

Is Nordbelt suitable for rehabilitation of hamstring injuries?

Nordbelt™ is widely used for controlled hamstring building, also in a rehabilitation context.

Always build up progressively and follow the advice of your physiotherapist or doctor in case of complaints or recovery process.

Do I need additional equipment or a partner?

No. You don't need an expensive machine or a training partner to get started.

With Nordbelt™ you create a stable setup on a door, bench, fence or beam and you can train independently.

Can I return if the product does not suit me?

Yes, you have a 30-day return period on your order.

If you return, the return shipping costs are borne by the customer.

This way you can evaluate Nordbelt™ within your own training situation without unnecessary purchasing risk.

Where can I find the complete manual and training protocol?

You will find the complete explanation on the How-to Guide.

You will also receive a practical manual with protocol upon purchase, so that you can start straight away in a structured manner.

For clinics, teams and groups

Work with multiple athletes?

Request a trial Nordbelt for your clinic or view Nordbelt for sports clubs, teams and gyms.

Strengthen your hamstrings to top-sport standards.

Ordered before 11 PM, delivered tomorrow 30 days of risk-free testing Secure checkout
Strengthen your hamstrings to top-sport standards.

Train anywhere. Immediately feel the Nordbelt vibe.

Start today with stronger hamstrings: one compact tool with which you can immediately train safely and effectively at home, outside and in the gym.

Ready to start immediately Less risk of injury Can be used anywhere