Free shipping 30-day return period Support within 1 business day
Germany Deutschland EUR
SHOP SETTINGS Choose your country and language This shows the correct prices and payment options. Germany EUR

You will stay on the same page

Learn the hip hinge: technique, 3 drills and mistakes

250+ athletes
Learn the hip hinge: technique, 3 drills and mistakes

“Nordbelt is easy to secure and feels stable.”

Cem — Trustpilot

Learning the hip hinge means bending from your hips while keeping your knees softly bent and your trunk steady. Push your hips back, keep pressure across your whole foot and stop when your hamstrings become tense without your lower back changing shape. Start with a wall tap, then use a dowel along your back and only then practise the movement freely. This lets you learn the hinge before adding weight, speed or a deadlift variation.

Quick overview

The hip hinge is not a deep squat. In a clean repetition your hips travel mainly backwards, your knee angle changes only slightly and tension builds along the back of your thighs. Begin without weight. Can you tap the wall, keep three contact points with a dowel and complete six calm repetitions without losing balance? Then the foundation is stable enough to make the movement a little larger or heavier.

This page is about the movement pattern. When you want to load it, continue with the related guide to the Romanian deadlift as a hamstring exercise. That page covers weights, variations and programming; this one stays focused on where the movement comes from.

What is a hip hinge?

A hip hinge is a movement in which your torso leans forwards because your hips flex. Your hips travel back, your feet stay firmly planted and your spine keeps roughly the same shape. You see the pattern in a Romanian deadlift, kettlebell deadlift, single-leg deadlift and many everyday lifting tasks.

That does not make the hinge one specific exercise. It is a skill on which you can build exercises later. Hamstring-activation research shows that different hip- and knee-dominant exercises can emphasise different areas within the same muscle group (Bourne et al., 2017). It therefore makes sense to master the hinge first and then choose the exercise that fits your training goal.

Nordbelt around sports shoes, ready for the first curl
REAL PRODUCT PHOTO
THE TOOL FROM THIS ARTICLE Nordic curls without a partner or bench — that is Nordbelt. 4.8 on Google · 250+ athletes Discover Nordbelt €39.99 €34.99 Free shipping · 30-day return period

Wall hip-hinge drill

The wall tap is the simplest hip-hinge drill. You only need a clear wall and about an arm’s length of space.

  1. Stand with your back to the wall, roughly 15 to 20 centimetres away.
  2. Place your feet about hip-width apart and soften your knees.
  3. Hold your hands by your ribs or in front of your chest.
  4. Push your hips back until your glutes gently touch the wall.
  5. Keep your feet flat and stop your knees from continuing to travel forwards.
  6. Return by bringing your hips forwards without leaning backwards.
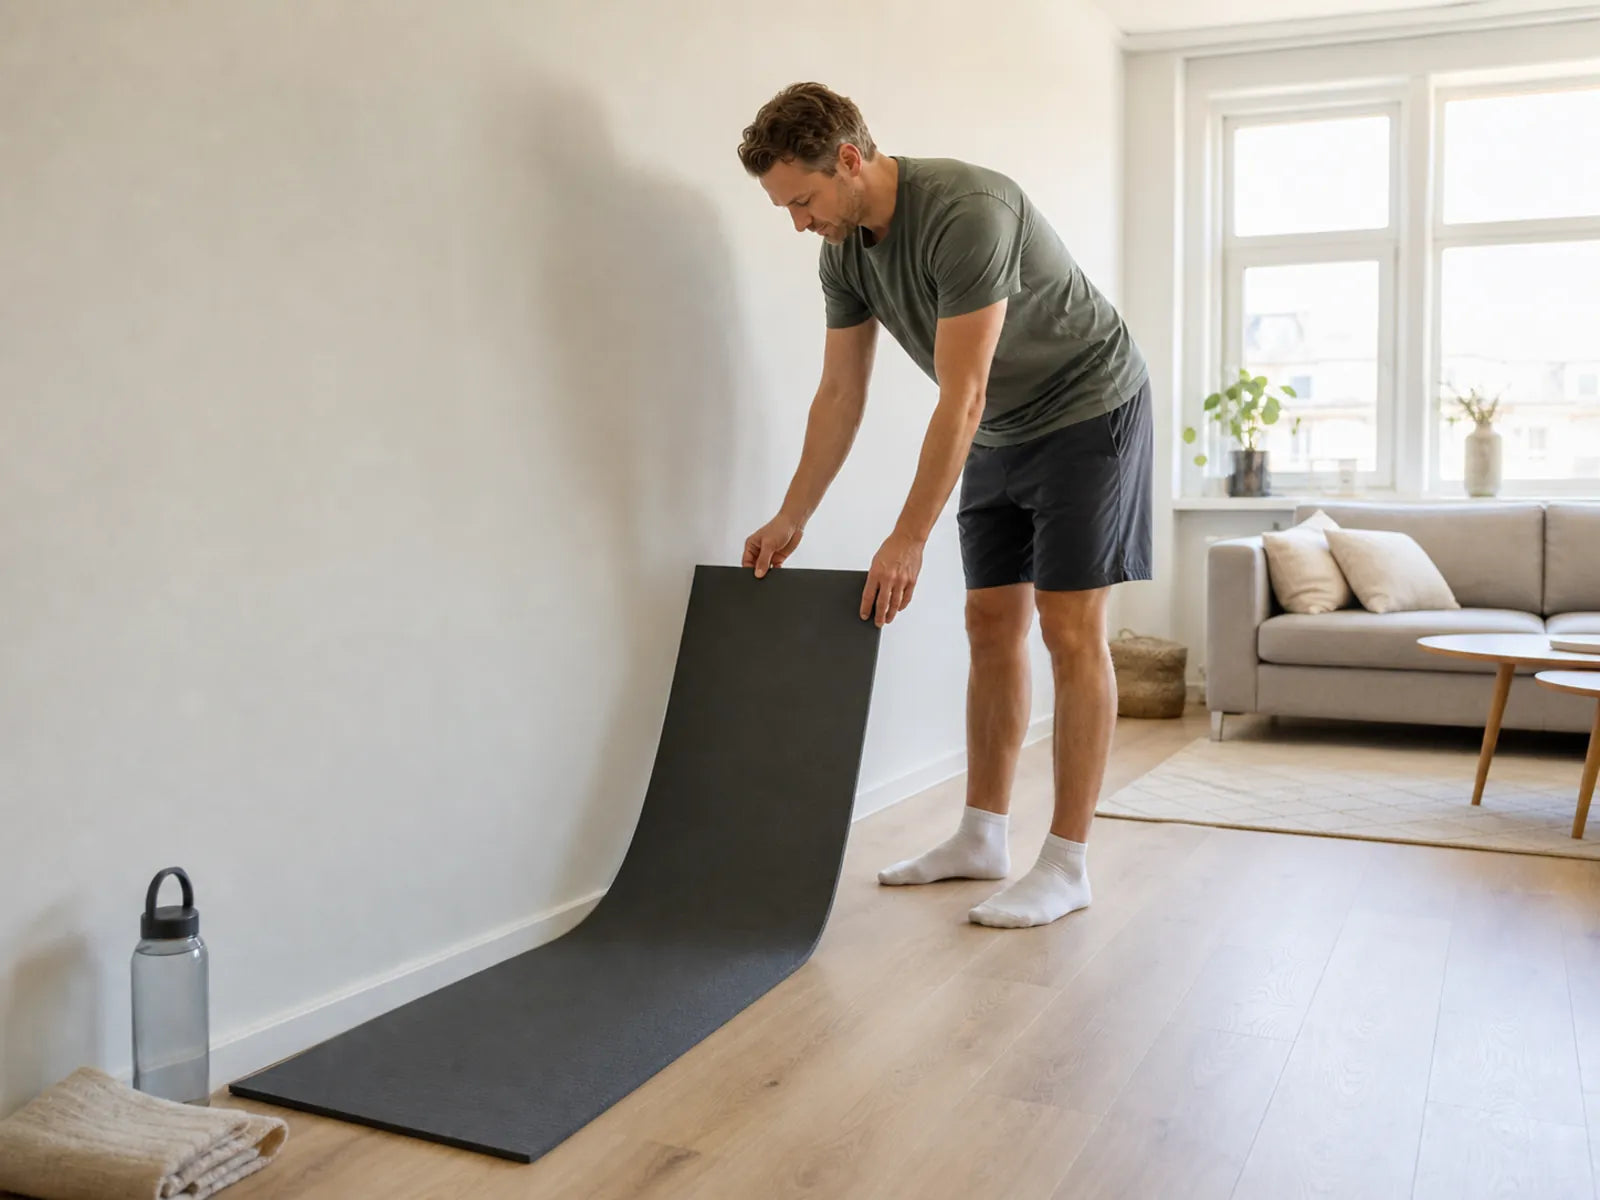
Learn the hip hinge: technique, 3 drills and mistakes — training image 1

If this is easy, move your feet a few centimetres farther from the wall. Stop when you have to jump backwards, your toes lift or you can reach the wall only by rounding your back. The correct distance is the one at which you can still control the entire movement.

FREE 10-WEEK TRAINING PROTOCOL

Take your Nordic curl from the first rep to week 10.

A concrete 7-page plan: build up week by week, without pushing too fast.

  • A clear week-by-week progression
  • Technique and the mistakes to avoid
  • A simple log you will actually use

Backed by research

Meta-analysis of randomised trials of the Nordic Hamstring Exercise.

Straight to your inbox

Hip-hinge technique with a dowel

A dowel helps you check whether your hip-hinge technique comes from your hips without your torso changing shape along the way. Use a broom handle, PVC pipe or light training stick.

Hold the dowel vertically along your back. Let it touch three points: the back of your head, upper back and sacrum. Hinge forwards slowly while maintaining all three points of contact. A small natural gap at your neck and lower back is normal; you do not need to press your spine flat against the dowel.

Watch for these signs:

  • if the dowel loses contact with your sacrum, you are often rounding through your lower back;
  • if it loses contact with the back of your head, you may be lifting your chin or dropping your chest;
  • if your knees continue to bend more deeply, the hinge is turning into a squat;
  • if your weight shifts towards your toes, your hips are usually not travelling back far enough.

Complete two sets of five slow repetitions. Pause for one second at the bottom and move only as far as you can while keeping all three contact points.

Hip hinge or squat?

In a squat, your knees and hips move together and your pelvis travels mainly downwards. In a hip hinge, your hips travel mainly backwards and knee flexion stays more limited. Both movements can belong in a leg programme, but they do not solve the same technique problem.

Use a simple check. Place a chair behind you. In a squat, lower yourself towards the seat under control. In a hinge, reach the edge with your glutes while your shins remain relatively still. If every hinge feels like a squat, reduce the range of motion and return to the wall drill.

If you want to combine both patterns in one home session, the guide to training legs at home without equipment gives a broader split across squats, lunges, hinges, bridges and hamstring work.

Feeling your hamstrings in the hip hinge

Feeling your hamstrings in the hip hinge usually means a gradual tension along the back of your thighs, not a sharp stretch or pain. The tension increases as your hips travel farther back while your knee angle stays roughly the same. You do not need to lower yourself as far as possible.
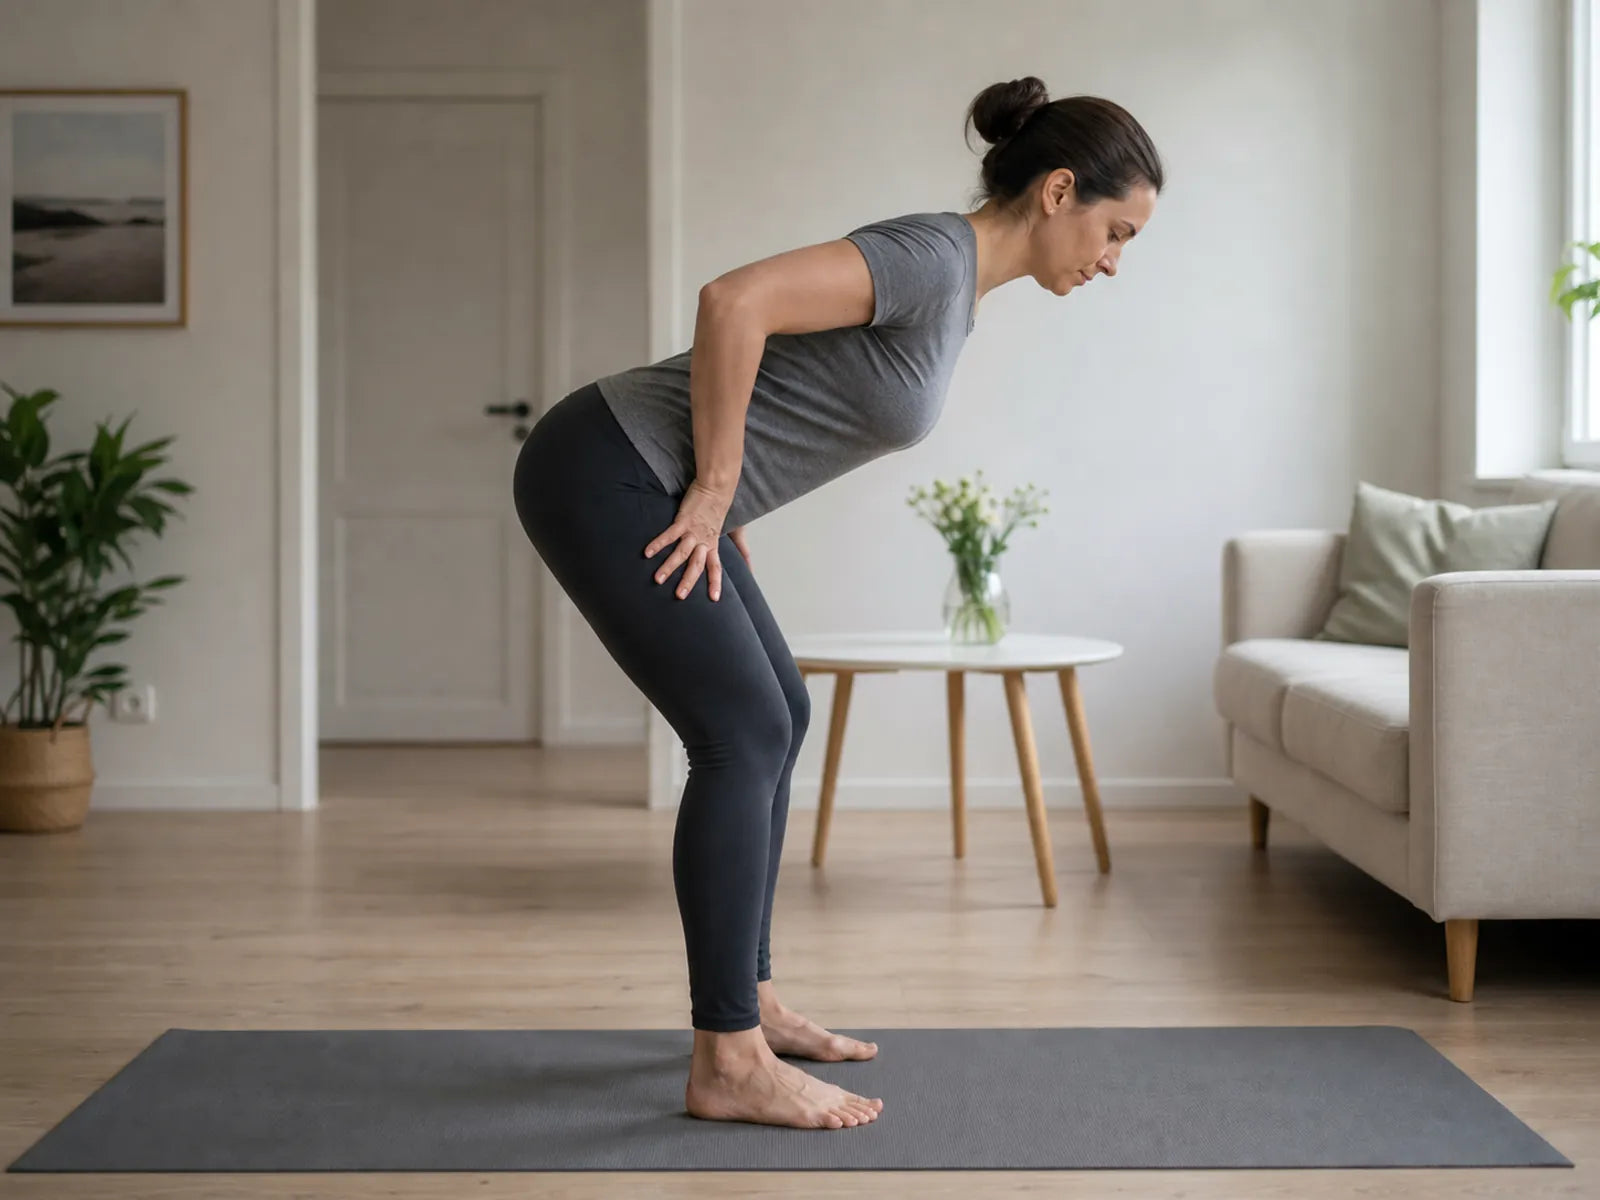
Learn the hip hinge: technique, 3 drills and mistakes — training image 2

Try this third drill:

  1. Place your fingertips in the crease at the front of your hips.
  2. Push your hips back as if you wanted to make that crease smaller.
  3. Keep your knees soft without allowing them to bend more deeply.
  4. Stop as soon as you clearly feel tension at the back of your thighs.
  5. Stand up and briefly contract your glutes without arching your lower back.

If you feel only your lower back, make the movement smaller and use the wall or dowel again. If you mainly feel the front of your thighs, you are probably bending your knees too much. Comparisons of lower-body exercises support that hip-dominant and knee-dominant variations do not create the same muscular demands (McAllister et al., 2014; Ebben, 2009).

From hip hinge to deadlift movement

If you want to learn the deadlift movement, add load only after the unloaded hinge is repeatable. Use this progression:

  • wall tap: 2 x 6 calm repetitions;
  • dowel test: 2 x 5 with a short pause at the bottom;
  • free bodyweight hinge: 2 x 8;
  • light backpack or kettlebell held close to the body: 2 to 3 x 6;
  • only then move to a specific Romanian-deadlift or deadlift variation.

Progress only when your feet stay stable, the movement comes from your hips and each repetition looks much the same. A heavier weight does not correct an unclear pattern. It mainly increases the need to maintain tension and position.

For a full overview of other posterior-chain options, continue with effective hamstring exercises or a practical home hamstring exercise plan.

Keeping a neutral back while bending

Keeping your back neutral while bending does not mean forcing your lower back into a perfectly straight or rigid position. The aim is for your spine to retain a calm, neutral shape while your hips produce most of the movement. Look at the floor roughly one to two metres ahead, keep your ribs above your pelvis and take a calm breath before each repetition.
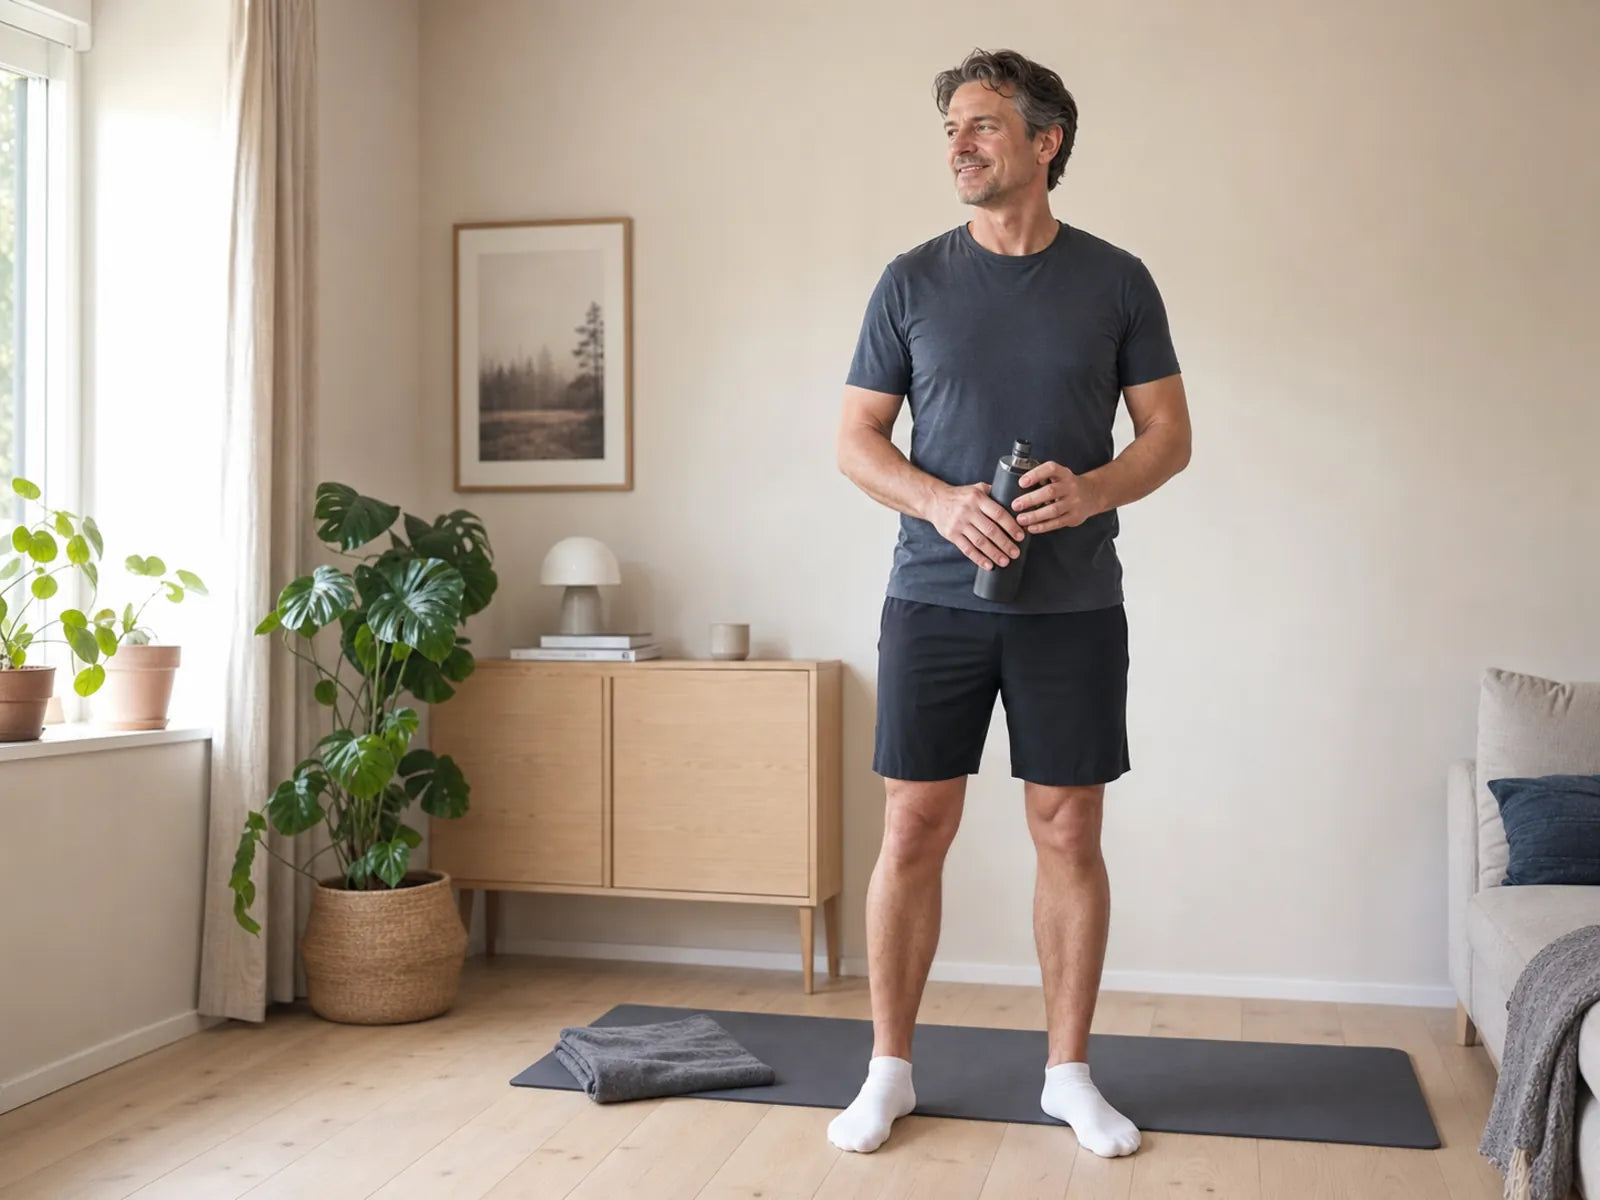
Learn the hip hinge: technique, 3 drills and mistakes — training image 3

Avoid both extremes: lifting your chest excessively and arching your lower back, or lowering so far that your pelvis tucks under and your back rounds. The best depth is the largest range you can still control. You can film yourself from the side. Check the hip movement, knee angle and spinal shape rather than how close your hands come to the floor.

Once the hinge feels solid, combine it with bridges, sliders or, later, a controlled Nordic progression. The Nordbelt how-to guide explains low ankle fixation when you are ready for that later step. Nordbelt provides a stable ankle setup; it does not replace the hip-hinge technique learned here.

Frequently asked questions

What is a good hip-hinge drill for beginners?

The wall tap is the best first hip-hinge drill for many beginners. The wall gives you a clear target: your hips move backwards without you having to guess how far. Start close, keep your feet flat and increase the distance only when you can touch the wall calmly without falling backwards or rounding your back.

How do I know whether my hip-hinge technique is correct?

Your hip-hinge technique is useful when your hips clearly travel backwards, your knees stay softly bent, your feet remain stable and your spine keeps roughly the same shape. You feel gradual tension in your hamstrings and glutes. The dowel test is a practical check: the back of your head, upper back and sacrum remain in contact.

Why can’t I feel my hamstrings during the hip hinge?

You may be bending your knees too much, moving too little from your hips or shifting your weight towards your toes. Return to the wall tap, keep your shins quieter and push your hips farther back. Do not deepen the movement once your spinal position changes. Tension can be clear, but it should not feel sharp or painful.

Can the hip hinge teach me the deadlift movement?

Yes. The hip hinge is the movement foundation for many deadlift variations. Learn the wall tap, dowel test and free bodyweight hinge first, then add a light backpack or kettlebell. Use the separate Romanian-deadlift guide for specific RDL technique, load selection and variations so the movement skill and loaded exercise each retain a clear owner.

How do I keep my back neutral while bending?

Move your hips backwards, keep your ribs calmly above your pelvis and stop before your lower back changes shape. A neutral back is not forced flat; it is a repeatable position without excessive arching or rounding. Use a dowel along your back or film yourself from the side to check the movement.

Thomas Pereira
WRITTEN BY Thomas Pereira Physician & movement scientist · Nordbelt co-founder

Every article in this knowledge base is designed to be directly useful: clear technique, realistic progression and evidence without hype.

Meet the team behind Nordbelt
THAT WAS THE KNOWLEDGE · NOW THE PRACTICE

See Nordbelt work in 12 seconds

4.8 on Google · 250+ athletes · 30-day return period

Nordic Hamstring Curl tool

Stronger
hamstrings.
Anywhere.

Nordbelt makes one of the best-researched hamstring exercises possible anywhere — without a training partner or expensive bench. At home, in the gym or on the field. Ready in under one minute.

REAL FOOTAGE · 0:12
ANCHORDOOR · BENCH · FENCE

“A must-have for every dedicated athlete or runner.”

Jesse van Hofwegen · Trustpilot
EXPERIENCE250+athletes already use Nordbelt
PROFESSIONAL50+physiotherapy clinics use it
Up to 51% fewer hamstring injuries in programmes that include the Nordic Hamstring Exercise (NHE)

Used by50+ physiotherapy clinics

Logos of physiotherapy clinics and sports centres that use Nordbelt

01 THE MOVEMENT

Watch. And see why
the Nordic curl works.

  1. Phase 01Feet secured. Lean forward slowly from the knees.
  2. Phase 02Control the descent eccentrically — the muscle gets stronger as it lengthens.
  3. Phase 03Catch yourself with your hands, push back and repeat.

Eccentric training — producing force while the muscle lengthens — targets the moment when the hamstrings are loaded most during sprinting. The Nordic curl trains exactly that.

02 HOW IT WORKS

Secure. Click. Curl.

Go from your sports bag to your first controlled rep in under one minute. The three videos play automatically in sequence — tap a card to replay it.

“It is great to be able to do this exercise by myself.”

Jesse van HofwegenTrustpilot
00:04
01 — CHOOSE

Find a solid anchor point

Place Nordbelt under a sturdy door or attach it to a fitness bench, fence or beam.

00:05
02 — CLICK

Fasten and adjust to fit

Click the buckle closed and adjust the strap for a firm, comfortable position around your ankles.

00:09
03 — CURL

Start with control

Your feet are secured. Progress your Nordic Hamstring Curl training gradually and with control.

Includes a practical guide and a progressive 10-week training protocol.

View the full guide

03 TRAIN ANYWHERE

One tool.
Three anchor points.

The same Nordbelt, the same movement — wherever you train that day. Tap a location to see the real setup:

Tested against ISO 20957 guidelines — view the safety report
Nordbelt secured under a sturdy door
01 / DOOR Under a sturdy, closed door

Place the anchor parts on the other side of the door, close it fully and check the attachment before you start.

“Wherever you are, training becomes easy.”

Sportfysio van LieropTrustpilot

04 THE KIT

Everything for your first set.

“The bag and cards are a really nice touch.”

AlissaTrustpilot
01

Nordbelt

Adjustable Nordic Hamstring Curl tool with a sturdy buckle and soft ankle rollers.

02

Storage bag

Compact enough for home, gym or field — it weighs next to nothing.

03

Manual

Clear setup and safety guidance for all three anchor points.

04

10-week protocol

Progressive training build-up, based on sports science.

REAL UNBOXING — THIS IS HOW IT ARRIVES
Thomas PereiraDoctor, sports scientist and co-founder

05 THE STORY

Not a gadget.
A frustration solved.

When I suffered a hamstring injury, I noticed how difficult it was to train properly at home without expensive equipment or help from others. That's why I developed Nordbelt.
  • 01

    Originated from real injury experience

    A real training problem was the starting point — not a marketing idea.

  • 02

    Medical and sports science foundation

    Further developed with physiotherapists and athletes in the field.

  • 03

    Built in Rotterdam

    Practical, direct and without unnecessary complexity.

Get to know the team

06 THE EVIDENCE

fewer hamstring injuries in programmes that include the Nordic Hamstring Exercise (NHE)

Meta-analysis · 8,459 athletes Br J Sports Med, 2019

Train with evidence.
Without the hype.

The Nordic Hamstring Exercise is one of the best-studied exercises in sports science. Nordbelt adds no magic — it simply lets you perform the exercise independently, practically and repeatedly. That is exactly the point.

  • 01

    Evidence-based exercise

    Training programmes that include the Nordic Hamstring Exercise show a clear reduction in hamstring injuries.

  • 02

    Build up progressively

    Start at a level that suits you and increase load and volume in a controlled way — the 10-week protocol helps you do that.

  • 03

    Widely applicable

    From football and athletics to fitness and supervised rehabilitation.

Source, context and safety note

Van Dyk N, Behan FP, Whiteley R. Br J Sports Med. 2019;53(21):1362–1370. This result concerns training programmes that include NHE; it does not show that Nordbelt itself prevents injuries.

Always use a stable anchor point, check every connection and follow a doctor’s or physiotherapist’s advice during injury, rehabilitation or return to play.

07 THE COMPARISON

The same exercise.
A smarter route.

Comparison of Nordbelt, a Nordic bench and training with a partner
Feature Nordbelt €34.99 Nordic benchhigher purchase cost Training partnerFree — if available
Train independently
Fits in your sports bag
Home, gym and field one fixed location± schedule-dependent
Ready in < 1 minute± setup & space± variable fixation
Consistent, firm fixation
Nordbelt
compare with
  • Train independently
  • Fits in your sports bag
  • Home, gym and field
  • Ready in < 1 minute
  • Consistent, firm fixation

Nordic bench · higher purchase cost

Indicative comparison based on common Nordic benches and training with another person’s assistance.

“Ideal if you do not want to buy an expensive bench.”

PaulTrustpilot

Convinced by the smarter route? You have 30 days to change your mind — so just try it.

08 REAL PEOPLE

What athletes and physios
really think.

Kim van HeumenSports physiotherapist MSc. · Google★★★★★

“A great solution for performing the Nordic Hamstring Curl properly and easily. Useful in my work as a physiotherapist and in different locations.”

Jesse van HofwegenDedicated athlete · Trustpilot★★★★★

“A must-have for every dedicated athlete or runner. It is great to be able to do this specific exercise independently with Nordbelt.”

Hidde DemoedPhysiotherapy clinic · Google★★★★★

“A very useful tool for performing the Nordic Hamstring Curl. A must-have for every physiotherapy clinic.”

PaulTrustpilot★★★★★

Fast shipping and an ideal tool for Nordic curls if you don't want to buy an expensive bench. Great for strengthening your hamstrings.

Cem SelcukNordbelt user · Trustpilot★★★★★

“Very practical and sturdy. Nordbelt is easy to attach and feels stable. The training plan is clear and effective.”

Sportfysio van LieropSports physiotherapist · Trustpilot★★★★★

Excellent tool to perform the effective Nordic hamstring exercise at home, works well for recovery and is easy to carry.

John MeeuwisseNordbelt user★★★★★

“Great product, delivered quickly and very practical!”

Read every review, including the critical ones.

View Trustpilot reviews

09 FROM THE COMMUNITY

Built in Rotterdam.
Tested after dark.

Follow @nordbelt.store
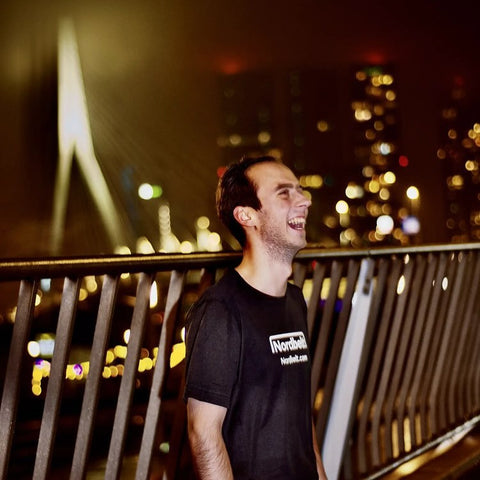
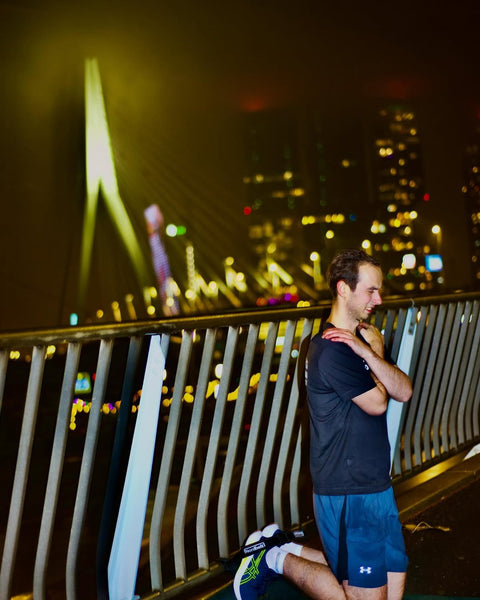
Smiling athlete on the Erasmus Bridge at night
ERASMUS BRIDGE · 23:40
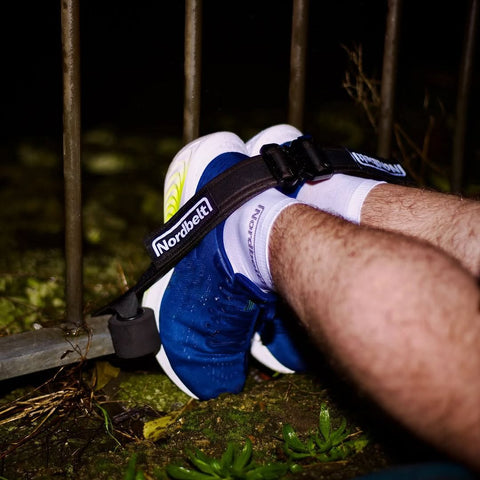
Nordbelt attached to a fence during an evening session
FENCE SETUP · OUTDOORS
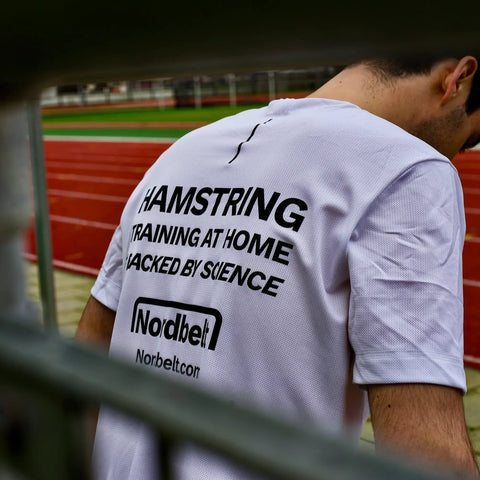
Hamstring Training at Home shirt on the athletics track
BACKED BY SCIENCE
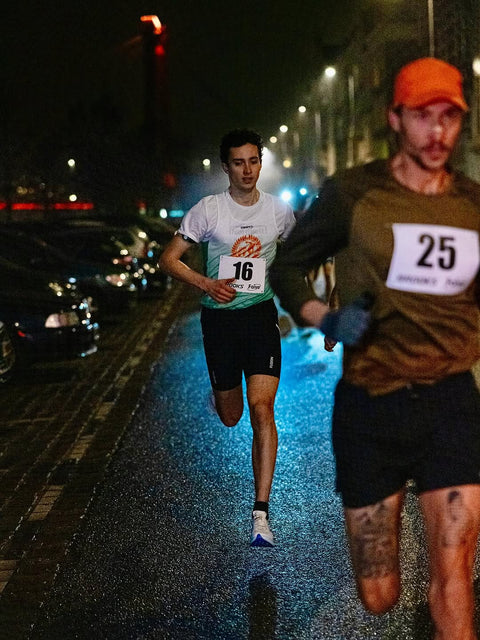
Two runners racing in the rain at night
PR NIGHT · RAIN
Athlete by the railing with the Erasmus Bridge behind
REST DAY? NO.
Runners in the mist at night
THROUGH THE MIST
Group of runners in black and white through Rotterdam
R'DAM CREW
Exhausted runner on the ground after the finish
GAVE IT EVERYTHING

Real photos from the Nordbelt community and brand team — straight from nordbelt.nl.

11 FAQ

One more question
before you order?

Clear information upfront — no fine print hidden behind the buy button.

A personal question? contact@nordbelt.com We usually respond within 1 business day.
How do I use Nordbelt?

Choose a stable door, fitness bench, fence or beam. Close the buckle, adjust the length, check the attachment and start with controlled repetitions.

What is included in the package?

The Nordbelt, a compact storage bag, a practical guide and a progressive 10-week training protocol.

Do I need a training partner or bench?

No. Nordbelt is designed for independent training without a large Nordic bench. You do always need a firm, stable anchor point.

Is this suitable for recovery or rehabilitation?

Nordbelt can support controlled hamstring strengthening. During recovery, decide on timing, load and progression together with your doctor or physiotherapist.

What does shipping cost?

Standard shipping — Germany: free.

Can I return it?

You can request a return within 30 days of receipt. The product must be unused, clean and in its original packaging; return shipping costs are paid by the buyer.

Is Nordbelt suitable for beginners?

Yes. Start with a smaller range of motion and support if needed, keep repetitions controlled and follow the included 10-week protocol. Stop if your technique breaks down or you feel pain.

Which anchor points are safe?

Only use a solid door, heavy fitness bench, sturdy fence or fixed beam that cannot open, slide or tip. Before every set, pull firmly on the attachment in the same direction as the training load.

How often can I train Nordic Hamstring Curls?

There is no single frequency that suits everyone. Use the 10-week protocol as a progressive starting point and match volume and recovery time to your level, sporting load and technique.

Where does the 51% fewer hamstring injuries claim come from?

The 51% refers to programmes that included the Nordic Hamstring Exercise, not to Nordbelt as a product. A systematic review and meta-analysis of 8,459 athletes (van Dyk, Behan & Whiteley, Br J Sports Med, 2019) reported a reduction of up to 51%; individual results are not guaranteed.

30-day return period

Try Nordbelt.
30-day return period

Returns are accepted within 30 days. The product must be unused, clean and in its original packaging; return shipping is paid by the customer. View return policy

  • 30-day return period Return shipping costs are paid by the buyer
  • Developed with physiosTested against ISO 20957 guidelines in Rotterdam
  • Secure checkoutSecure payment · quick dispatch
Free shipping · 4.8★ Google
Ready in < 60 sec
★★★★★

“Great product, very practical.”

John · Google

“A great tool for home use. Easy to take with you.”

Sportfysio van LieropTrustpilot

RTM / 2026 READY WHEN YOU ARE

Your strongest set starts
with one click.

€39.99 €34.99save €5
  • Free shipping
  • 30-day return period
  • Secure checkout